Van Build Series: Week 6 - Laying the Vinyl Floor
We have had a great week. The sun has been shining and serious progress on the van has been made. We finally have a floor! It’s a big step towards the finished van and we’re so happy with how it turned out, considering it was our first time ever fitting vinyl. We decided to lay vinyl flooring throughout the van, as it’s inexpensive, lightweight and easy to clean. We will be putting laminate flooring around our kitchen/living area, but wanted something more practical for the rest of the van (especially as it won’t be seen).
Step 1. Laying the Plywood Floor
The first job was to lay a new plywood flooring over the insulation. We chose a 12mm plywood, using the original flooring as a template. This original floor was a thick piece of plywood cut into two parts. However, we decided to use 4 parts of plywood throughout the van instead, for a couple of reasons. First, we couldn’t find plywood long enough to fit in our van in two pieces! Secondly, we thought cutting it into four parts would make it a little easier to put back in the van. We ended up only using the original template for the wheel arches and doing our own measurements for the rest. We varnished the plywood before securing it into the van, just to give it a moisture barrier. We used a clear yacht varnish we picked up from Screwfix, which did the job nicely.
Because we built our walls first, we found that the battens on the lower portions of the walls jutted out over the edge of the flooring, narrowing the space inside the van by an inch or so. This meant that our plywood was too big to fit without ripping our vapour seal (see photos). Thankfully it was only the back that was damaged, and we patched over it easily. Once the plywood was down, we secured it in place with wooden screws into the floor battens beneath. She was ready for the vinyl.

Using original flooring templates for the wheel arches

Getting the jigsaw ready!

Cutting the new plywood floor

Always keep the original flooring… the new one fits perfectly!

Ah! That new floor feeling

Varnished plywood ready to go back into the van
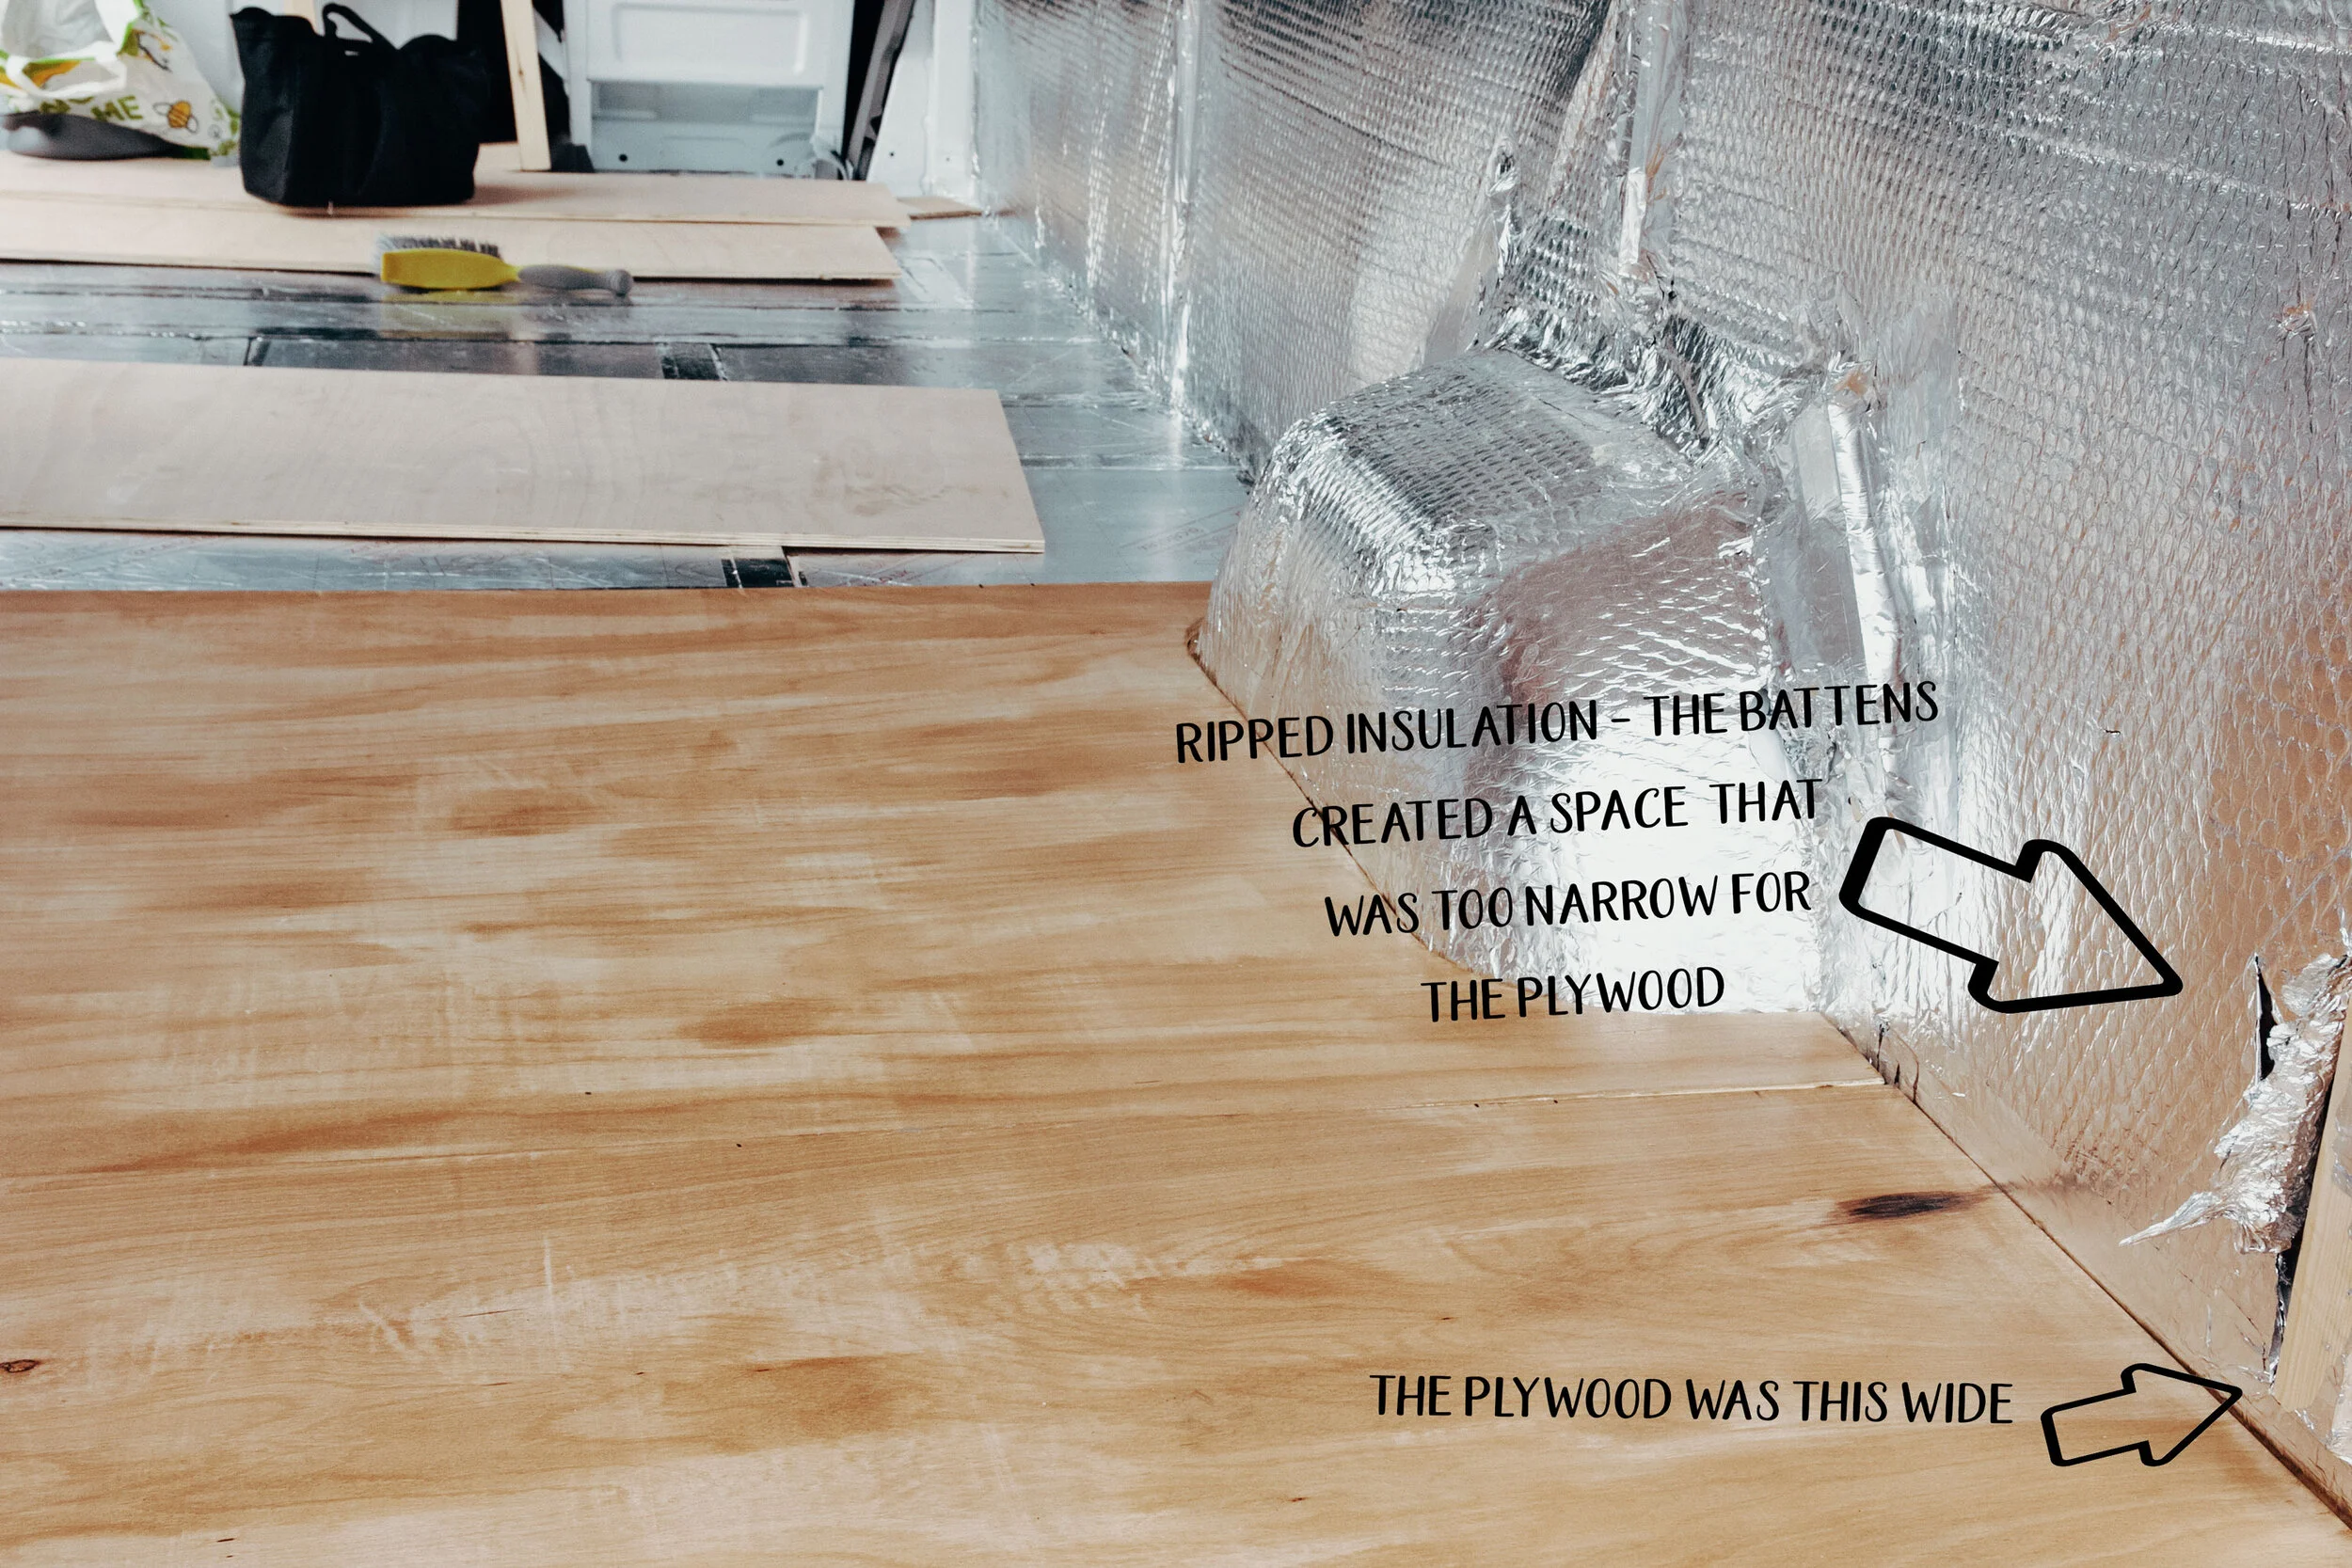
Damaged insulation! Maybe we should have done the flooring first…

Securing the plywood floor down with wood screws
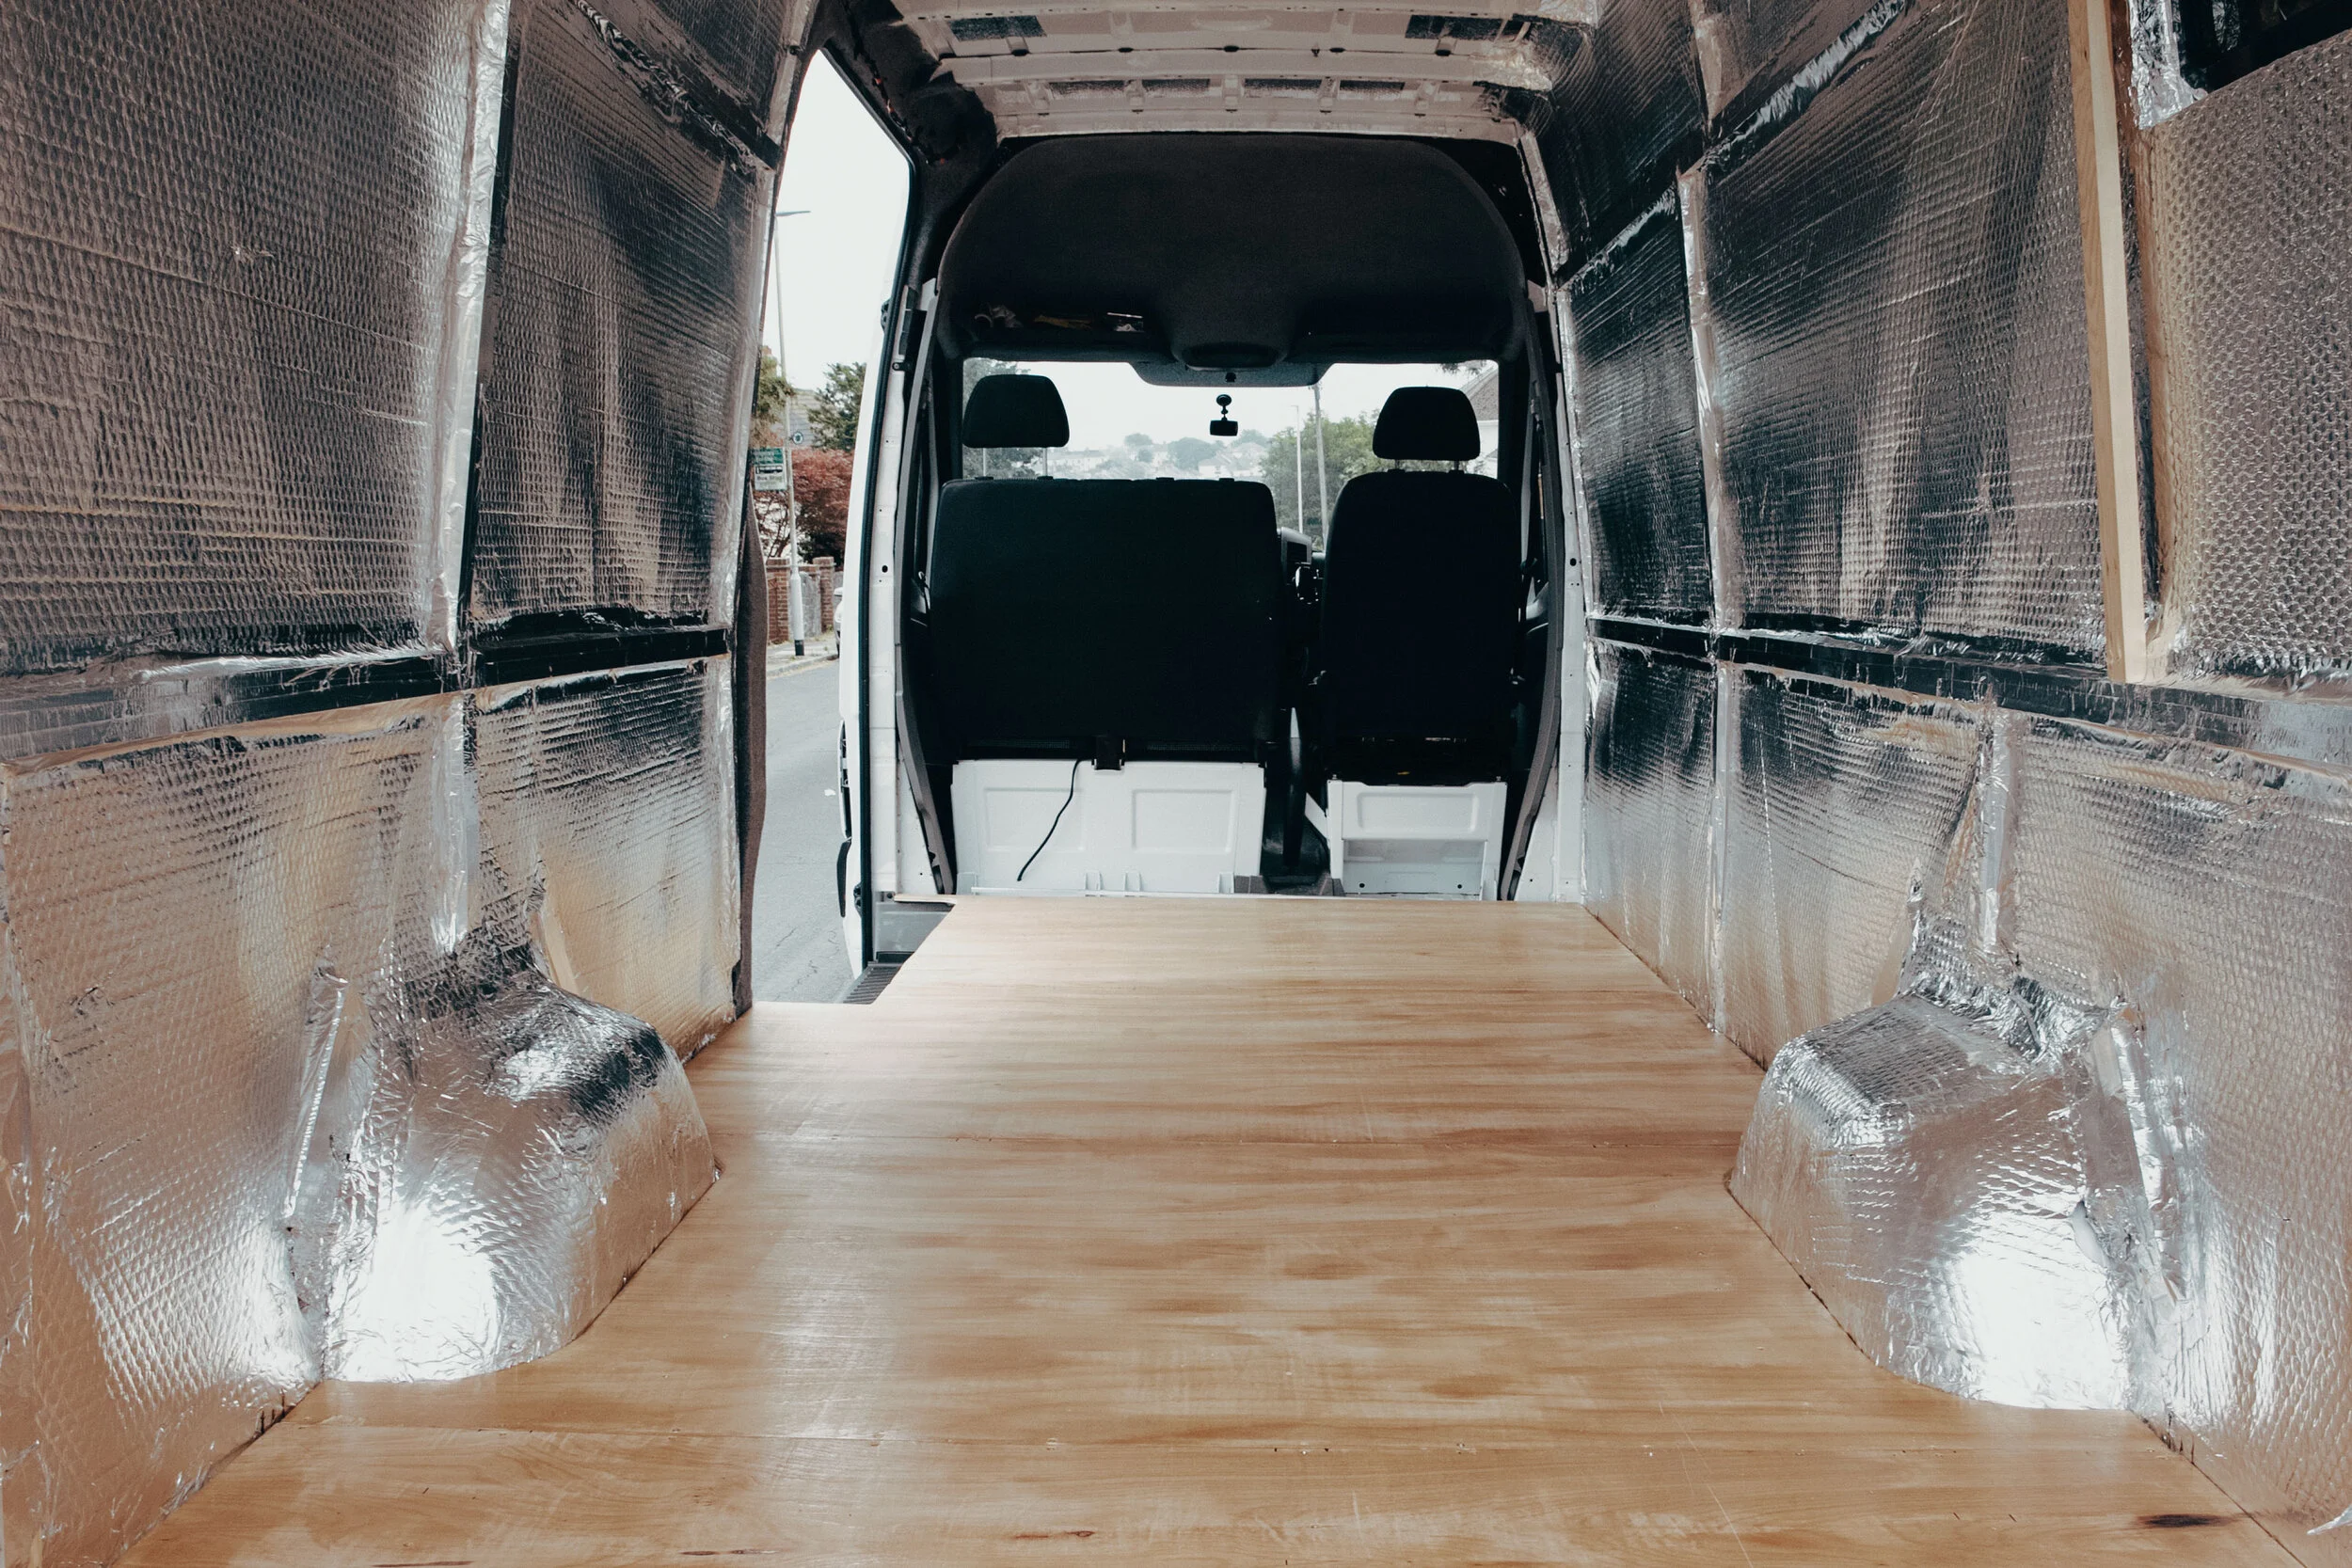
The finished plywood floor – varnished and secured down.
2. Laying the Vinyl Floor
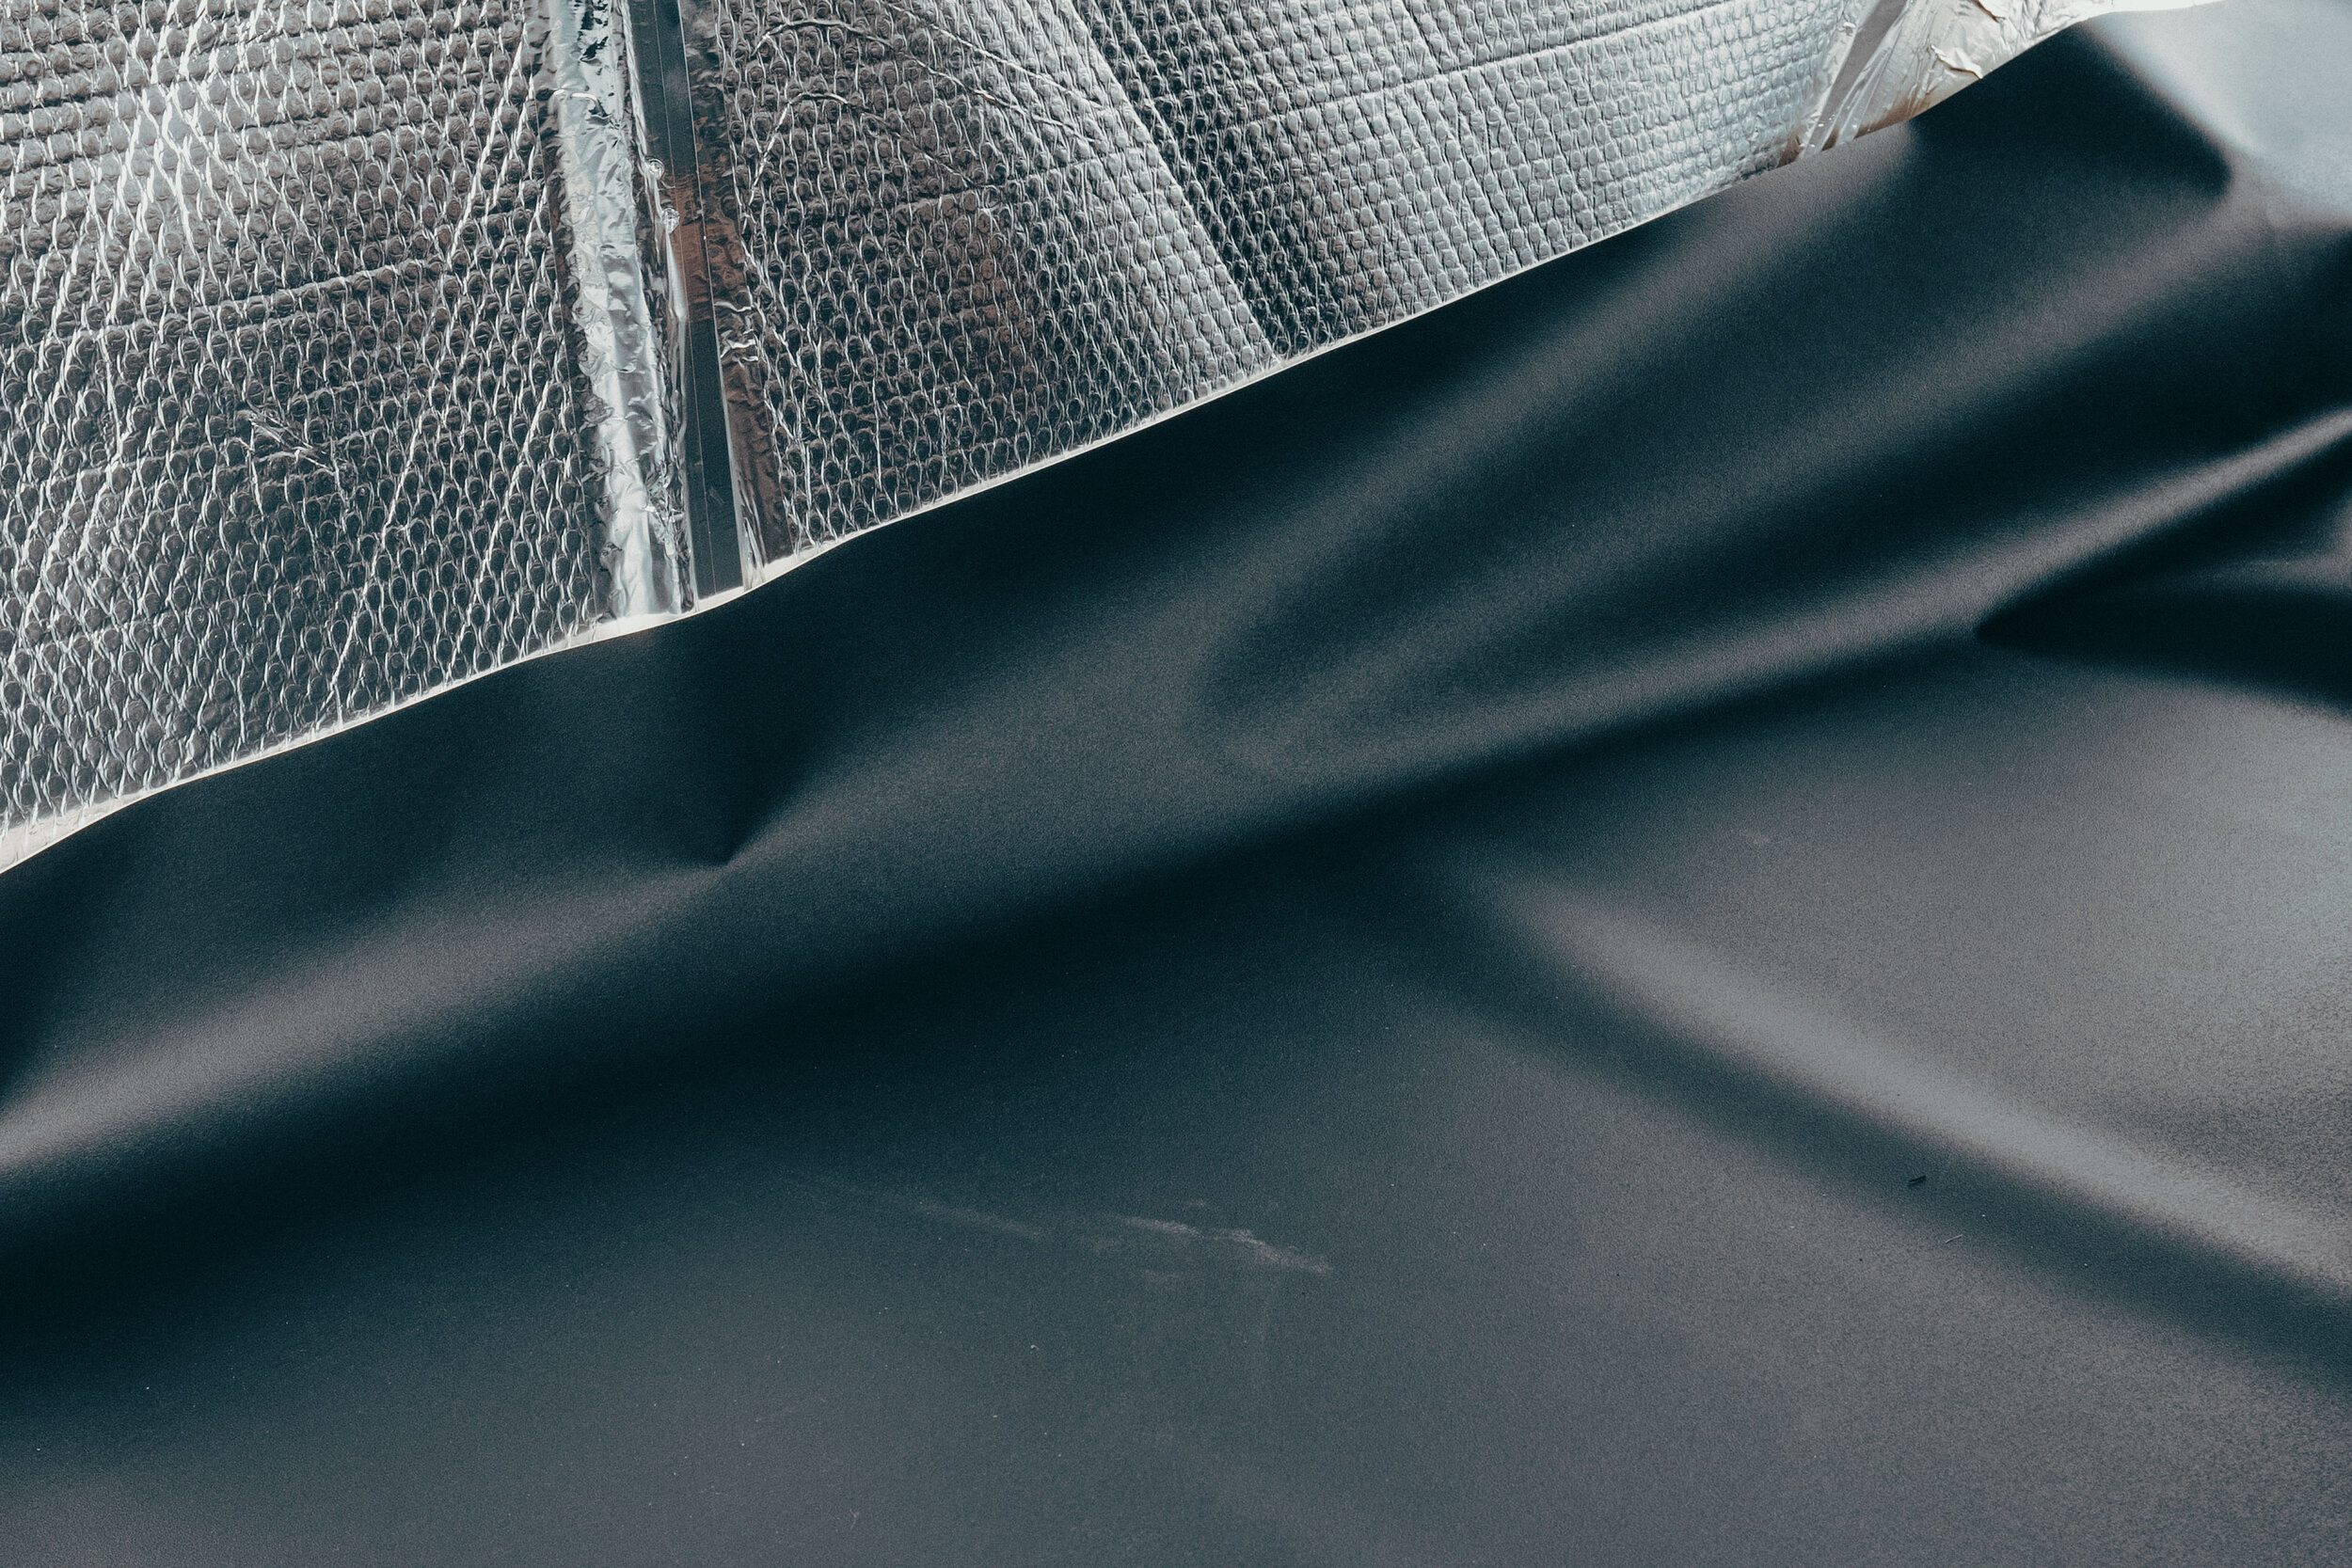
We weren’t really sure how to approach the vinyl. We thought about using the plywood as templates, but that changed when we put the plywood on top of the vinyl. We realised the vinyl was pretty much the same length and width of the van, with a couple of feet spare. Rather than cut the vinyl outside of the van and hope for the best, we decided to wing it! We chose to put the vinyl straight into the van and measure and cut as we needed to. We wanted the vinyl to be slightly larger than the floor, so that we could curl it upwards at the edges. If any water gets onto the floor, the extra ‘curl’ on the vinyl would prevent the water from leaking onto the plywood beneath. Slowly but surely, we cut the vinyl bit by bit. The wheel arches were the most delicate part, but with small cuts and constantly checking where we were at, we did it. Once we were happy with the cut of the vinyl, it was time to stick it down.
We chose a flooring grout to secure our vinyl down. There are other options, including adhesive tape and spray adhesive. Our friend Brett told us that a heat gun on a low setting would have been the best solution, which we’ll remember for next time. We applied the grout to the plywood and then rolled the vinyl over the top, trying not to get any air bubbles trapped. We weren’t 100% successful there, but there were only a couple of small bubbles that will be out of sight. By the end, we were really happy with the result! The floor is the first thing we’ve finished that we’ll actually see once we live in the van. Next we’ll be starting on the cladding, which is something I’ve been waiting for since we picked Sophia up! Things are really starting to pick up now. See you next week!
We didn’t have to cut the vinyl down too much once inside the van

As you can see, it was easier to cut the vinyl down once in the van, as the dimensions were pretty similar

We left a generous ‘lip’ at the edges to prevent any moisture from the floor ever seeping into the plywood below

Using the floor adhesive to secure the vinyl down

The finished floor! Some of the edges need tidying up a little, but we were really happy with the result
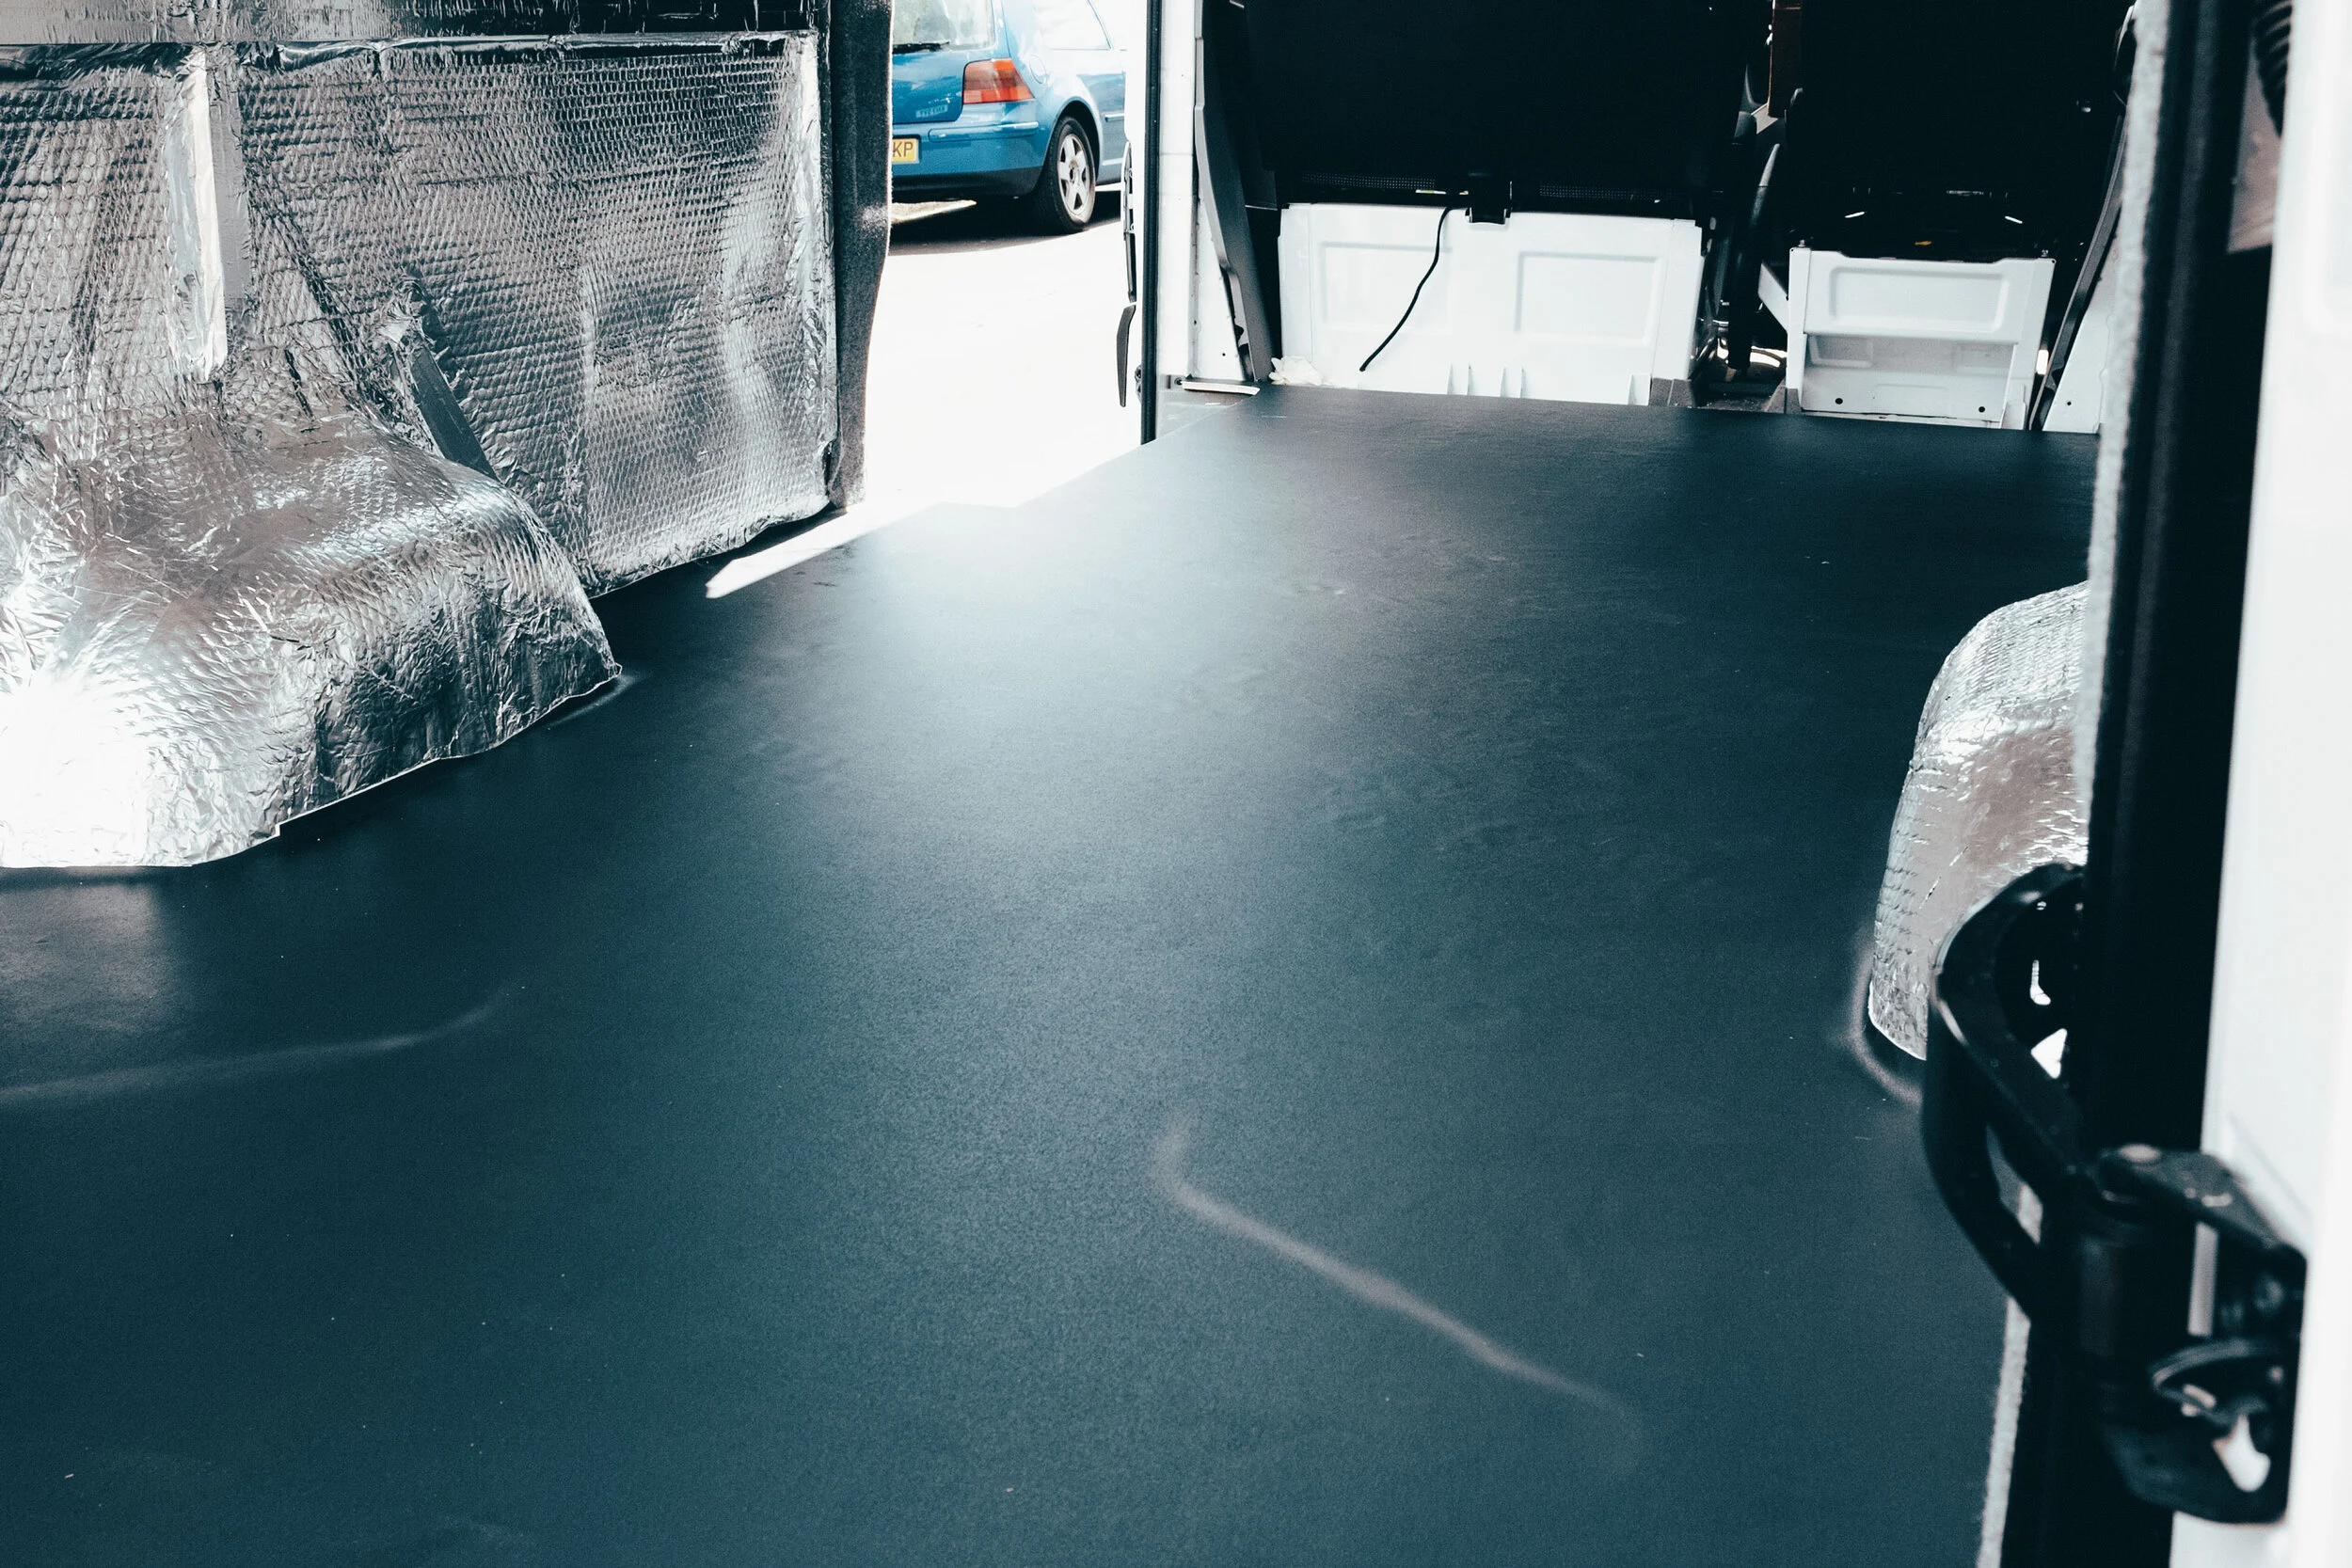
The finished flooring!