Van Build Series: Week 9 - Fitting our Rhino Roof Rack
This week was a big one. With the beautiful weather we’ve been having, we thought it was time to fit our roof rack. After the headaches of the woodwork the past few weeks, it was a refreshing change to have some instructions to read! We chose a Rhino Roof Rack because we really love how they look. They’re sleek, black and have cool rhino silhouettes on the side. They are also a good quality brand too. In a similar price range are the Van Guard roof racks, but we much prefer the look of the Rhino racks. It took us the best part of the day to fit them, but it was easy and straightforward.
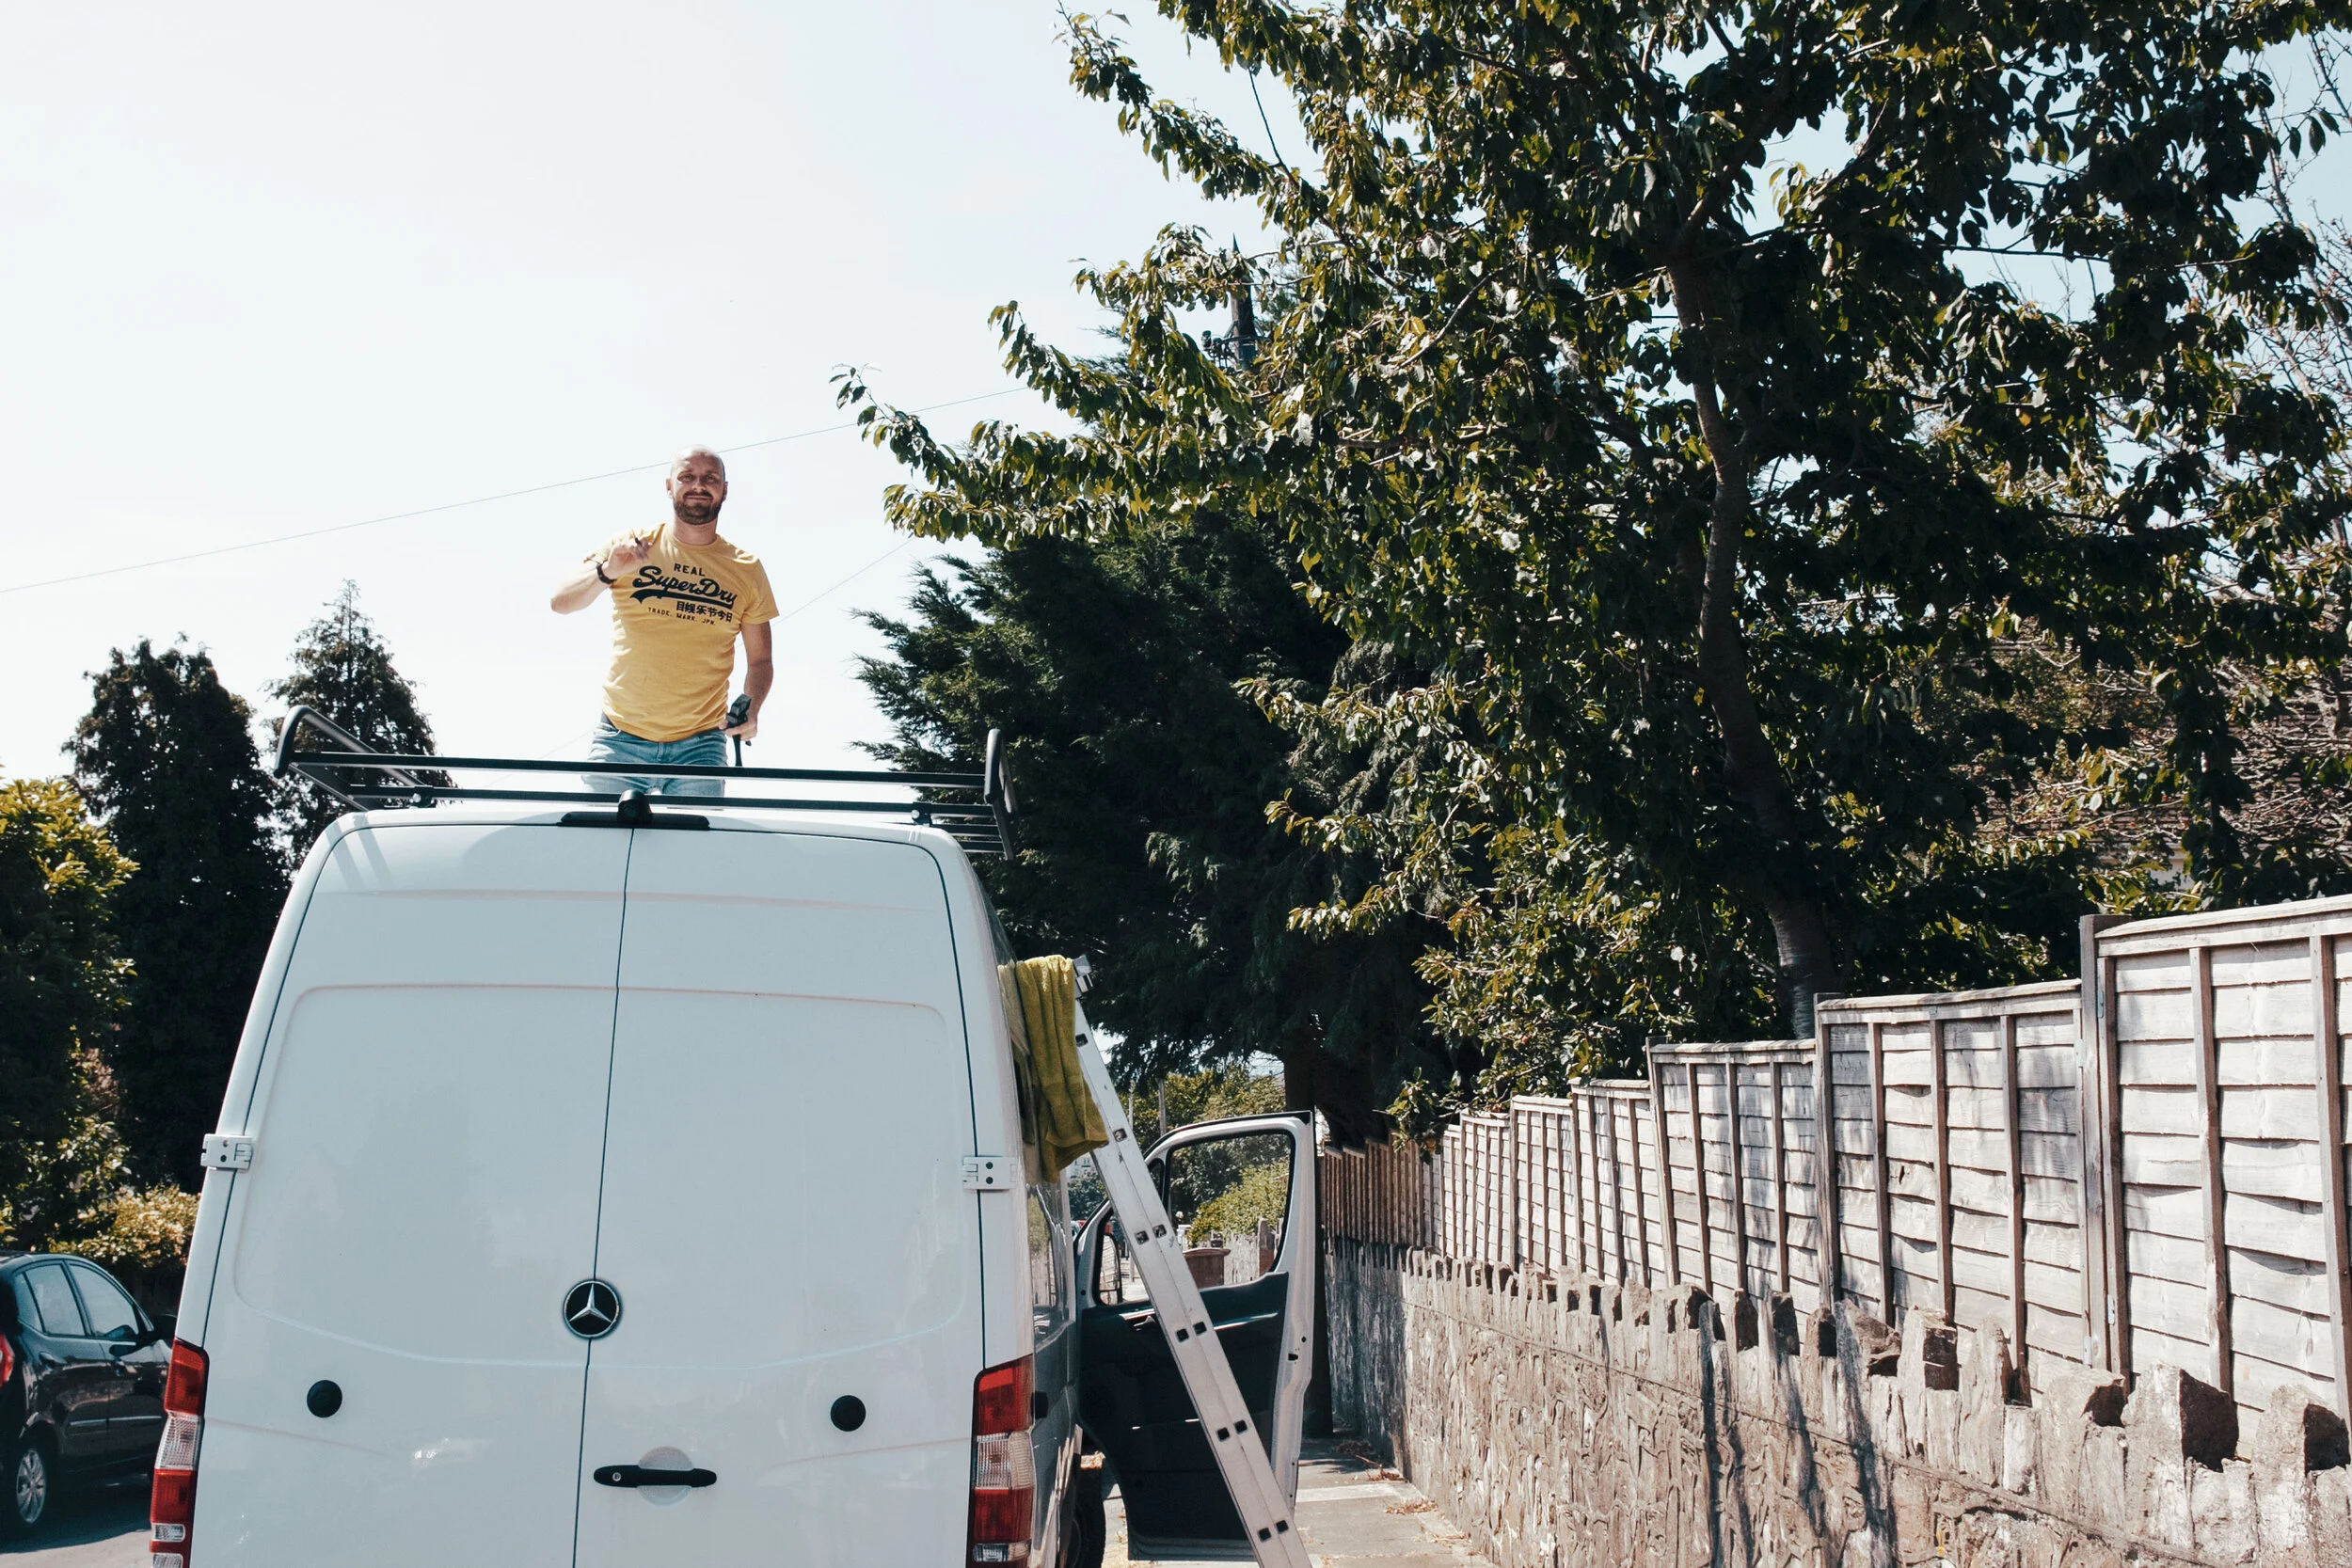
Where we spent most of the day…

Fitting the Roof Racks | Step 1
It’s worth mentioning that the roof rack arrives in 4 very big boxes. The racks are already built, so you’ll need somewhere to store them unless you’re fitting them the same day. But before you get into the roof racks, there are two main ways to attach them to your van.
You can use metal roof tracks. With this option, the roof racks attach to metal tracks that run inside the long grooves on the top of your van. This was our preferred option, as it meant we could easily remove the rack at a later date if we wanted to. However, we don’t have metal tracks on our van and we really struggled to find some.
You use the manufacturer bolt holes for roof racks. This is an easy option as the holes are already there for the roof racks. For most panel vans this is no problem. But as soon as you put ceiling insulation and cladding on, you can no longer access the bolts that hold the roof rack in place. This makes it difficult to ever remove it. But, as we didn’t have the metal tracks it was our only choice. We figured we don’t plan on removing it unless it was an emergency anyway.
You buy the racks for your specific van – make, model and year. This means the instructions are tailored to your vehicle. They tell you where your bolt holes are and which ones need removing for your roof rack. Ours were filled with plastic and glue. We had to dig out the glue around ours. Some people use a heat gun to loosen them, but we didn’t have access to one. Instead, we used a trusty screwdriver and mallet to drive out the plastic.
Removing the plastic from the bolt holes left behind some exposed metal, especially where we had used the screwdriver. So we cleaned the area with an alcohol rub, before painting on some leftover Hammerite white metal paint. We left this to dry while we went and had lunch, and by the time we got back the roof was prepped and ready.

Removing the plastic from the bolt holes

Scraping the glue off was fiddly but not too time-consuming

Cleaning the exposed areas with alcohol rub

Painting Hammerite over the new holes

Wish there was a decking up there!
Fitting the Roof Racks | Step 2
Following the instructions, we began by fitting brackets to the outside of the van. These will hold the roof rack in place and bolt through to the inside of the van. We added some extra sealant around these screws just to make sure it was extra water tight. Ben held the bolt in place on the top of the van, while I used a ratchet set to tighten them from inside. Once we’d attached all of the brackets, it was time to get the racks into them. The racks are fairly heavy, although Ben and I managed to get them up with no problem. One of us on the roof, the other lifting and passing the racks up. These sit in the brackets, and also bolt into each other along the side of the van.

Brackets secured in place through the manufacturer fitted bolt holes

The sections of the roof rack attach together by these big bolts

View from the side of how the roof rack sections attach
Fitting the Roof Racks | Step 3
Once we had attached all the racks to each other, it was time to tighten them properly and ensure the rack was equal on both sides. Ben used a tape measure and a rubber mallet to make sure it was all aligned, before tightening the bolts with a ratchet set. And voila! The roof rack was finished. We love how it looks, and it makes the van look so different already. We’ll be using the roof racks to mount our solar panels, and maybe a spare tyre. We also managed to start painting the cladding this week! But that’s a story for another post 🙂

Aligning the roof racks before securing it all together

Tightening all the bolts!

The finished roof rack!


Products We Used:
Rhino Roof Rack - https://bit.ly/2YTJE1R
Sikaflex 512 Sealant - https://amzn.to/2YREZxr*
*Amazon affiliate links