Van Build Series: Week 8 - Building the Window Frame

How we are already two months into the van build is beyond me. This week was a slow burner, requiring lots of thinking and measuring and more thinking and more measuring. Before we could finish the cladding, we needed to frame our small vent window. Ben’s woodworking skills are getting better and better with each challenge on the van build, and the window frame was no exception. He did himself proud, and we’ve now pretty much finished all the cladding on the walls.
Framing the Window
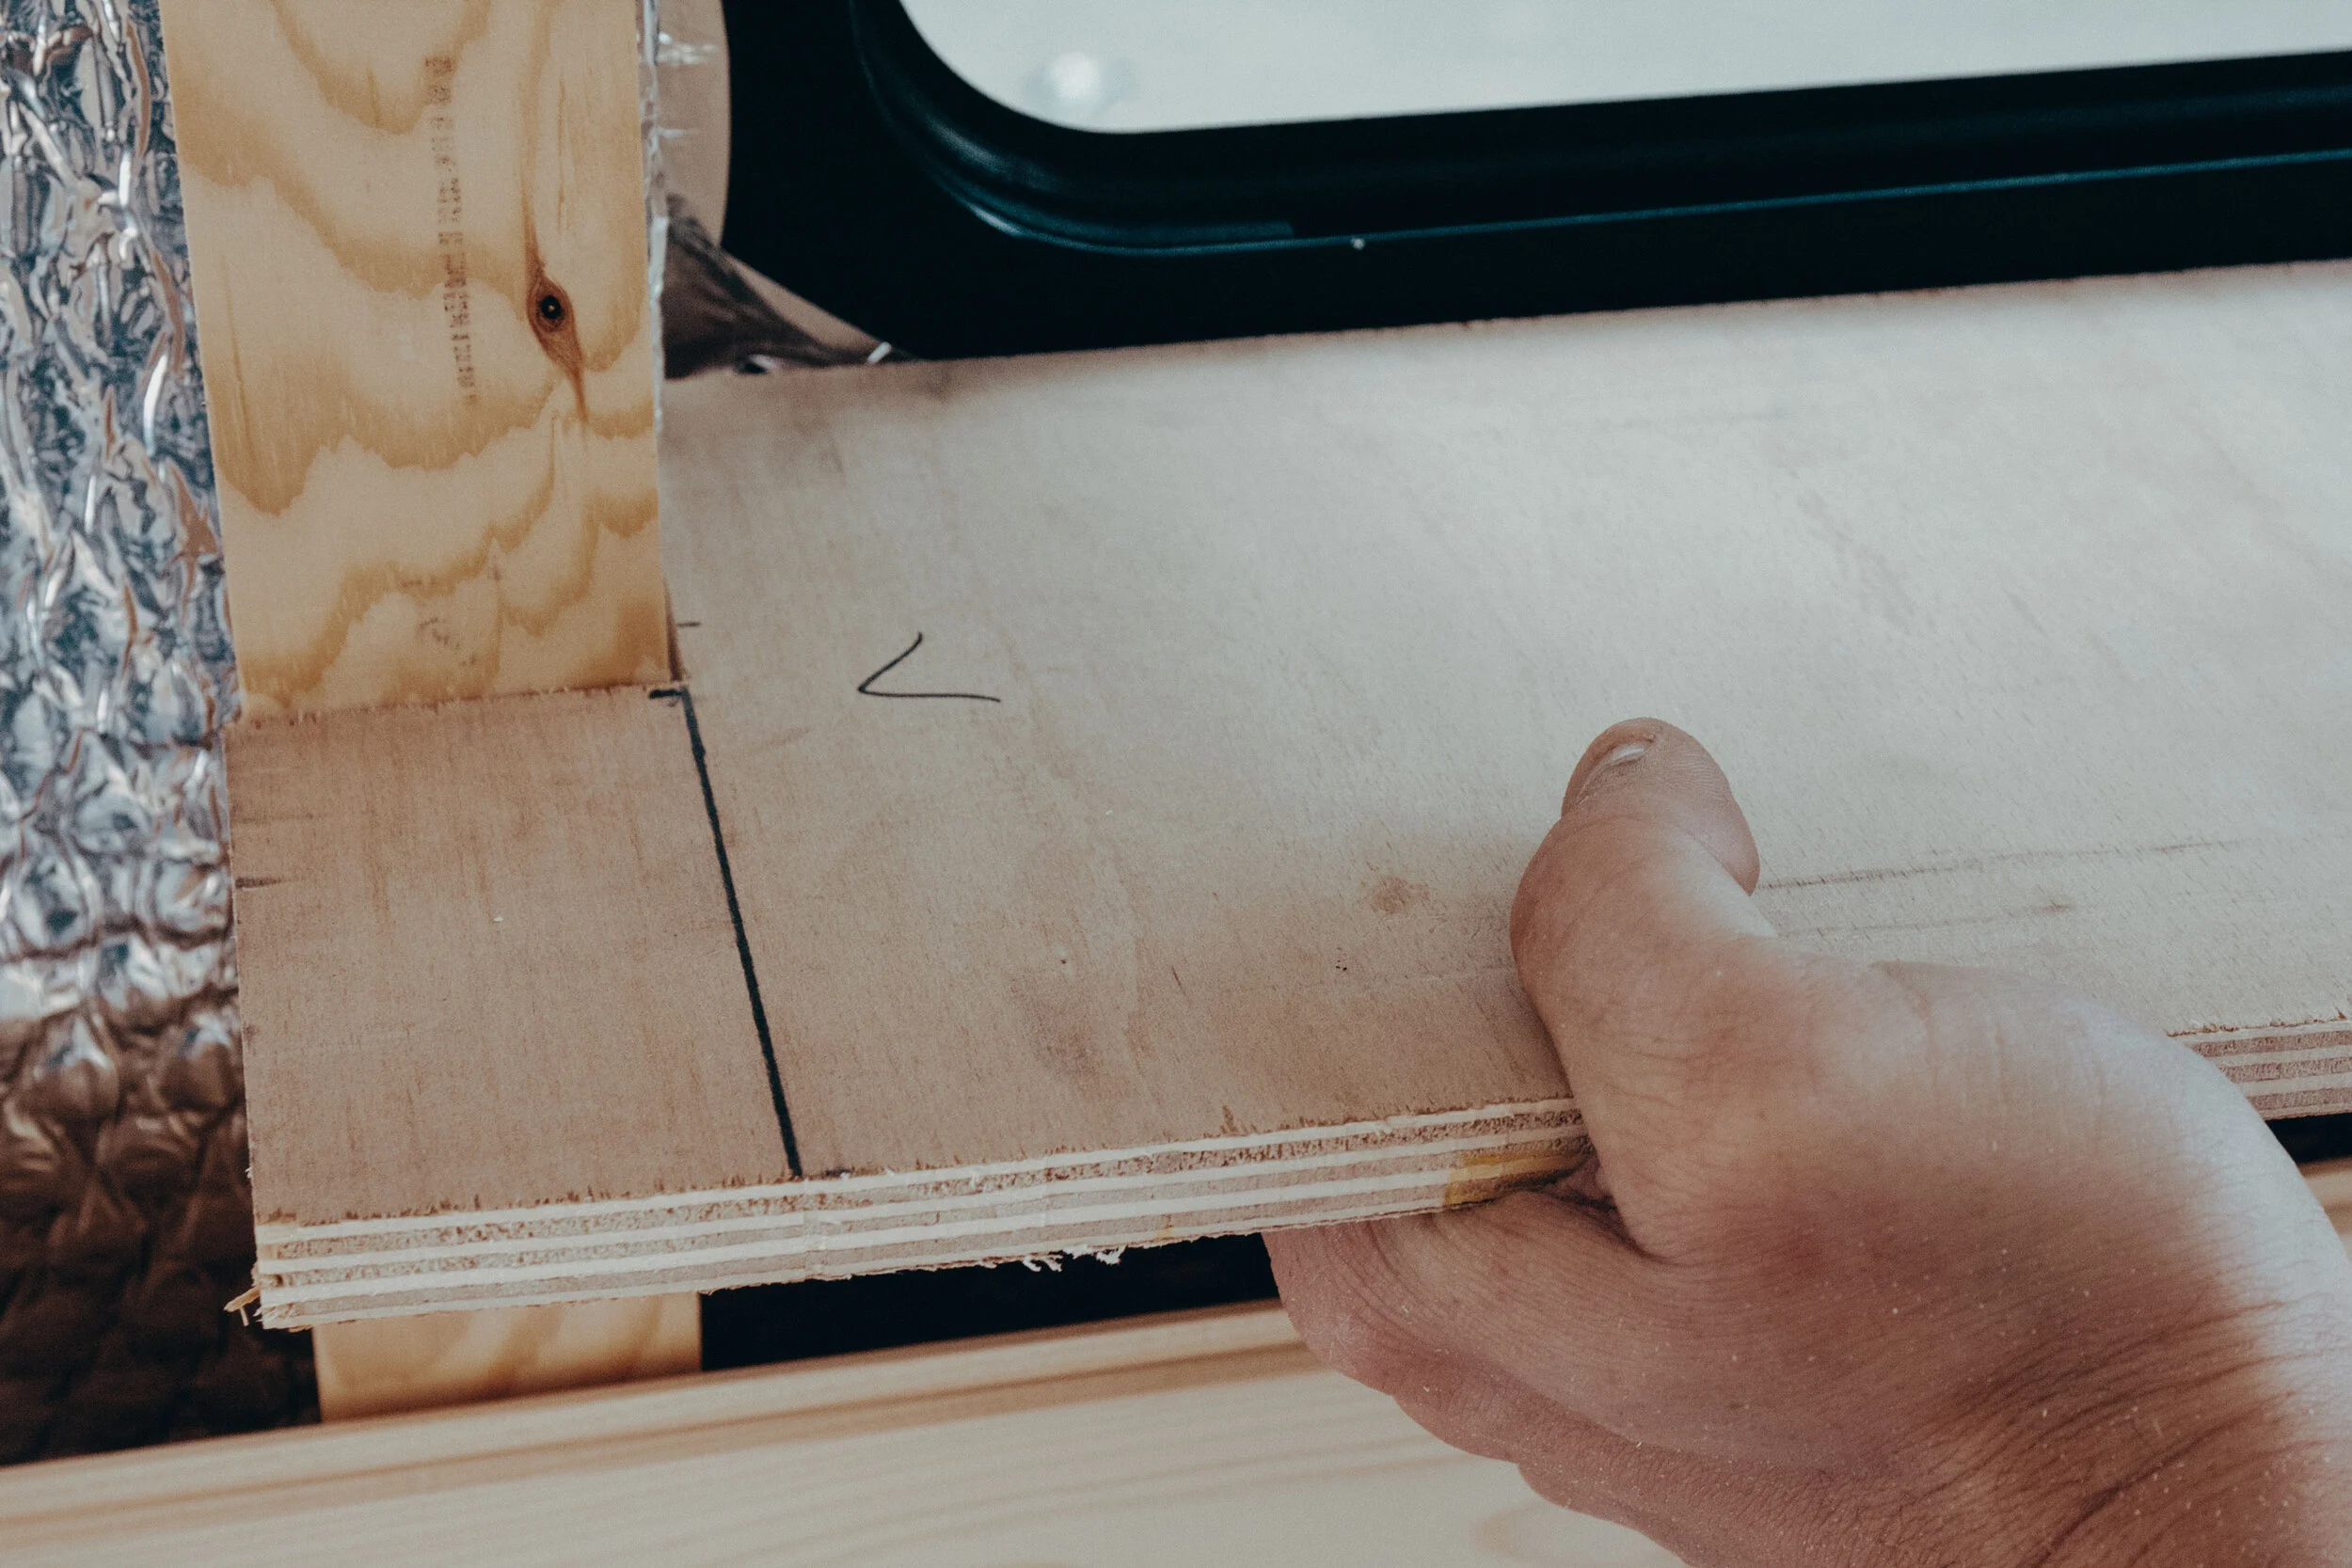
We had to decide whether we wanted the frame to be recessed into the wall or whether we wanted it to be a feature. We decided early on that we’d like it as a feature. This meant building it so that it came away from the wall, in a way that looked nice! We used some spare 9mm plywood as a template, building the bottom part of the frame first. We discovered that because the van gets narrower towards the back, the back edge of the frame also has to do this, otherwise there would be a slight run. Once we got our heads around this, we cut our pine wood to size and it fit perfectly. As you’ll see in the pictures below, we fit the frame around two battens that will be holding it in place on either side. Getting those corners to fit snug was a challenge, but we did it. The next job was to fit the top and the sides of the frame together. We continued to use plywood templates until we were happy with the fit and the shape. We secured the frame together with wood glue and some screws on the bottom of the frame. It was then a job of double checking it was level, and securing it to the battens on the van. We used pocket holes for this part, and it’s all holding together nicely! It was a fun job to figure out, but all the credit must go to Ben here. He did an awesome job and we love how it turned out.

The window ready to be framed
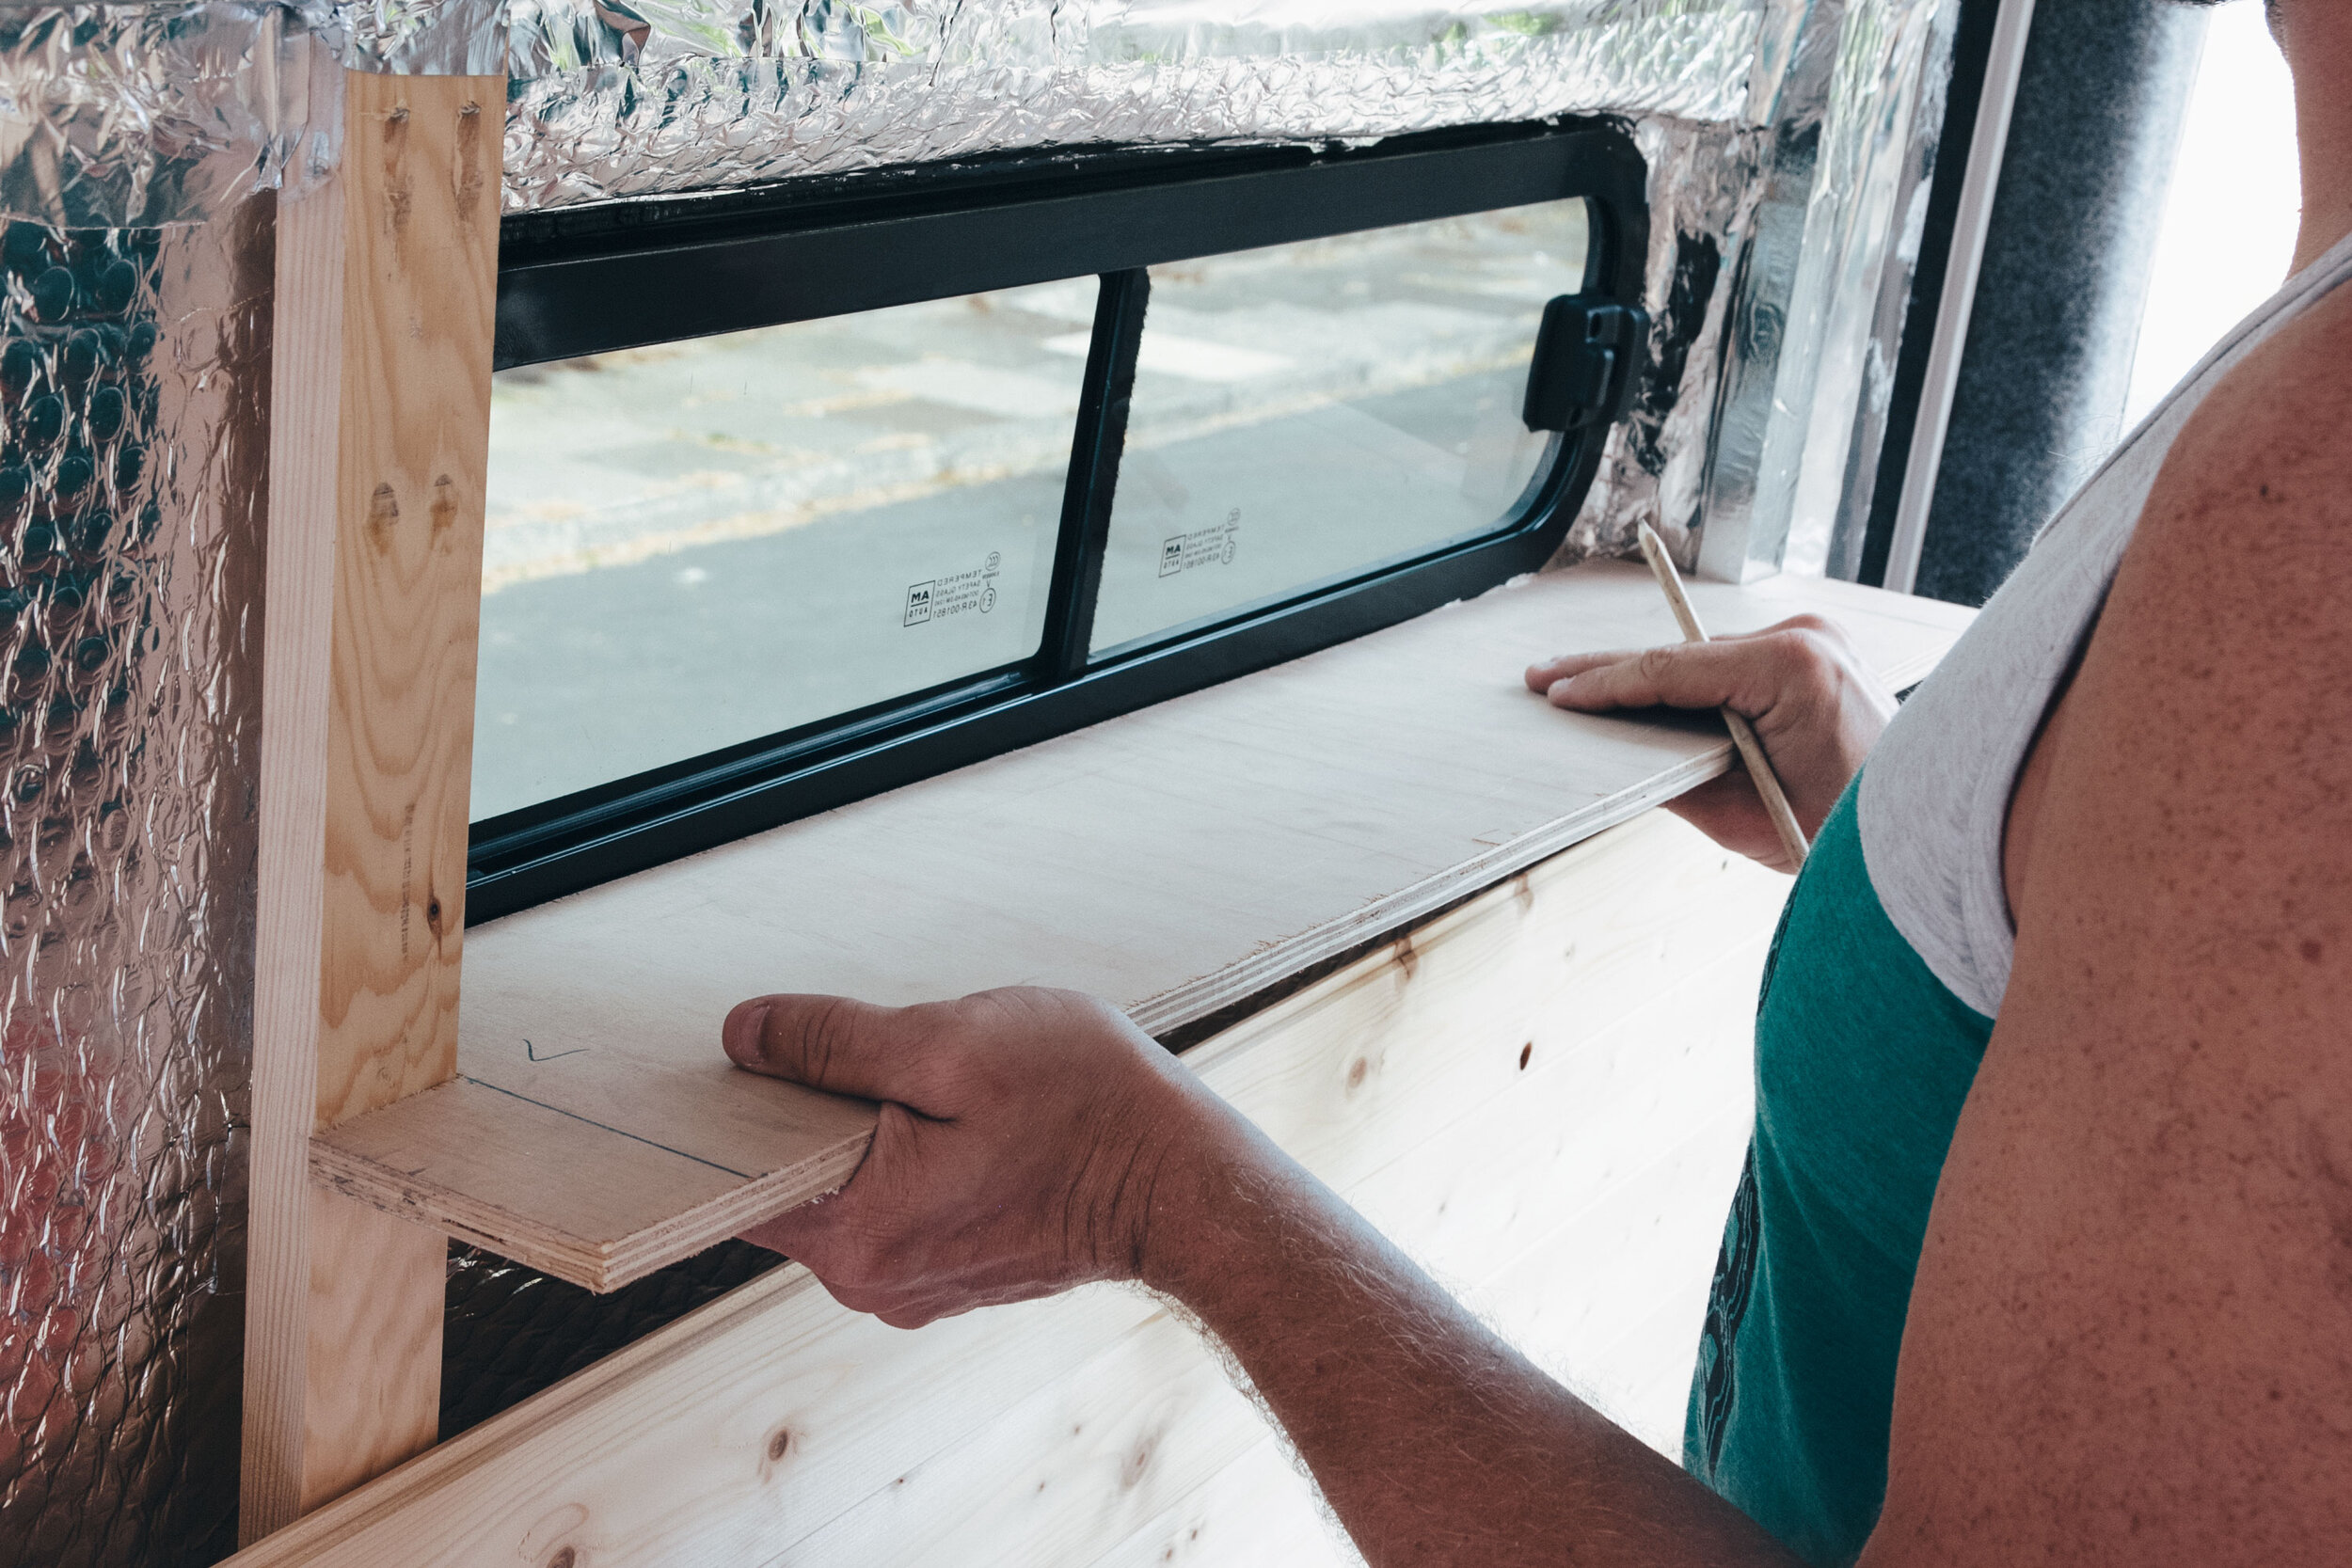
Using 9mm plywood templates
Measuring around the battens

The actual pine frame being cut down to size

Bottom of the frame successfully in place

Fitting the top piece of wood to the frame

Building the side portions of the window frame

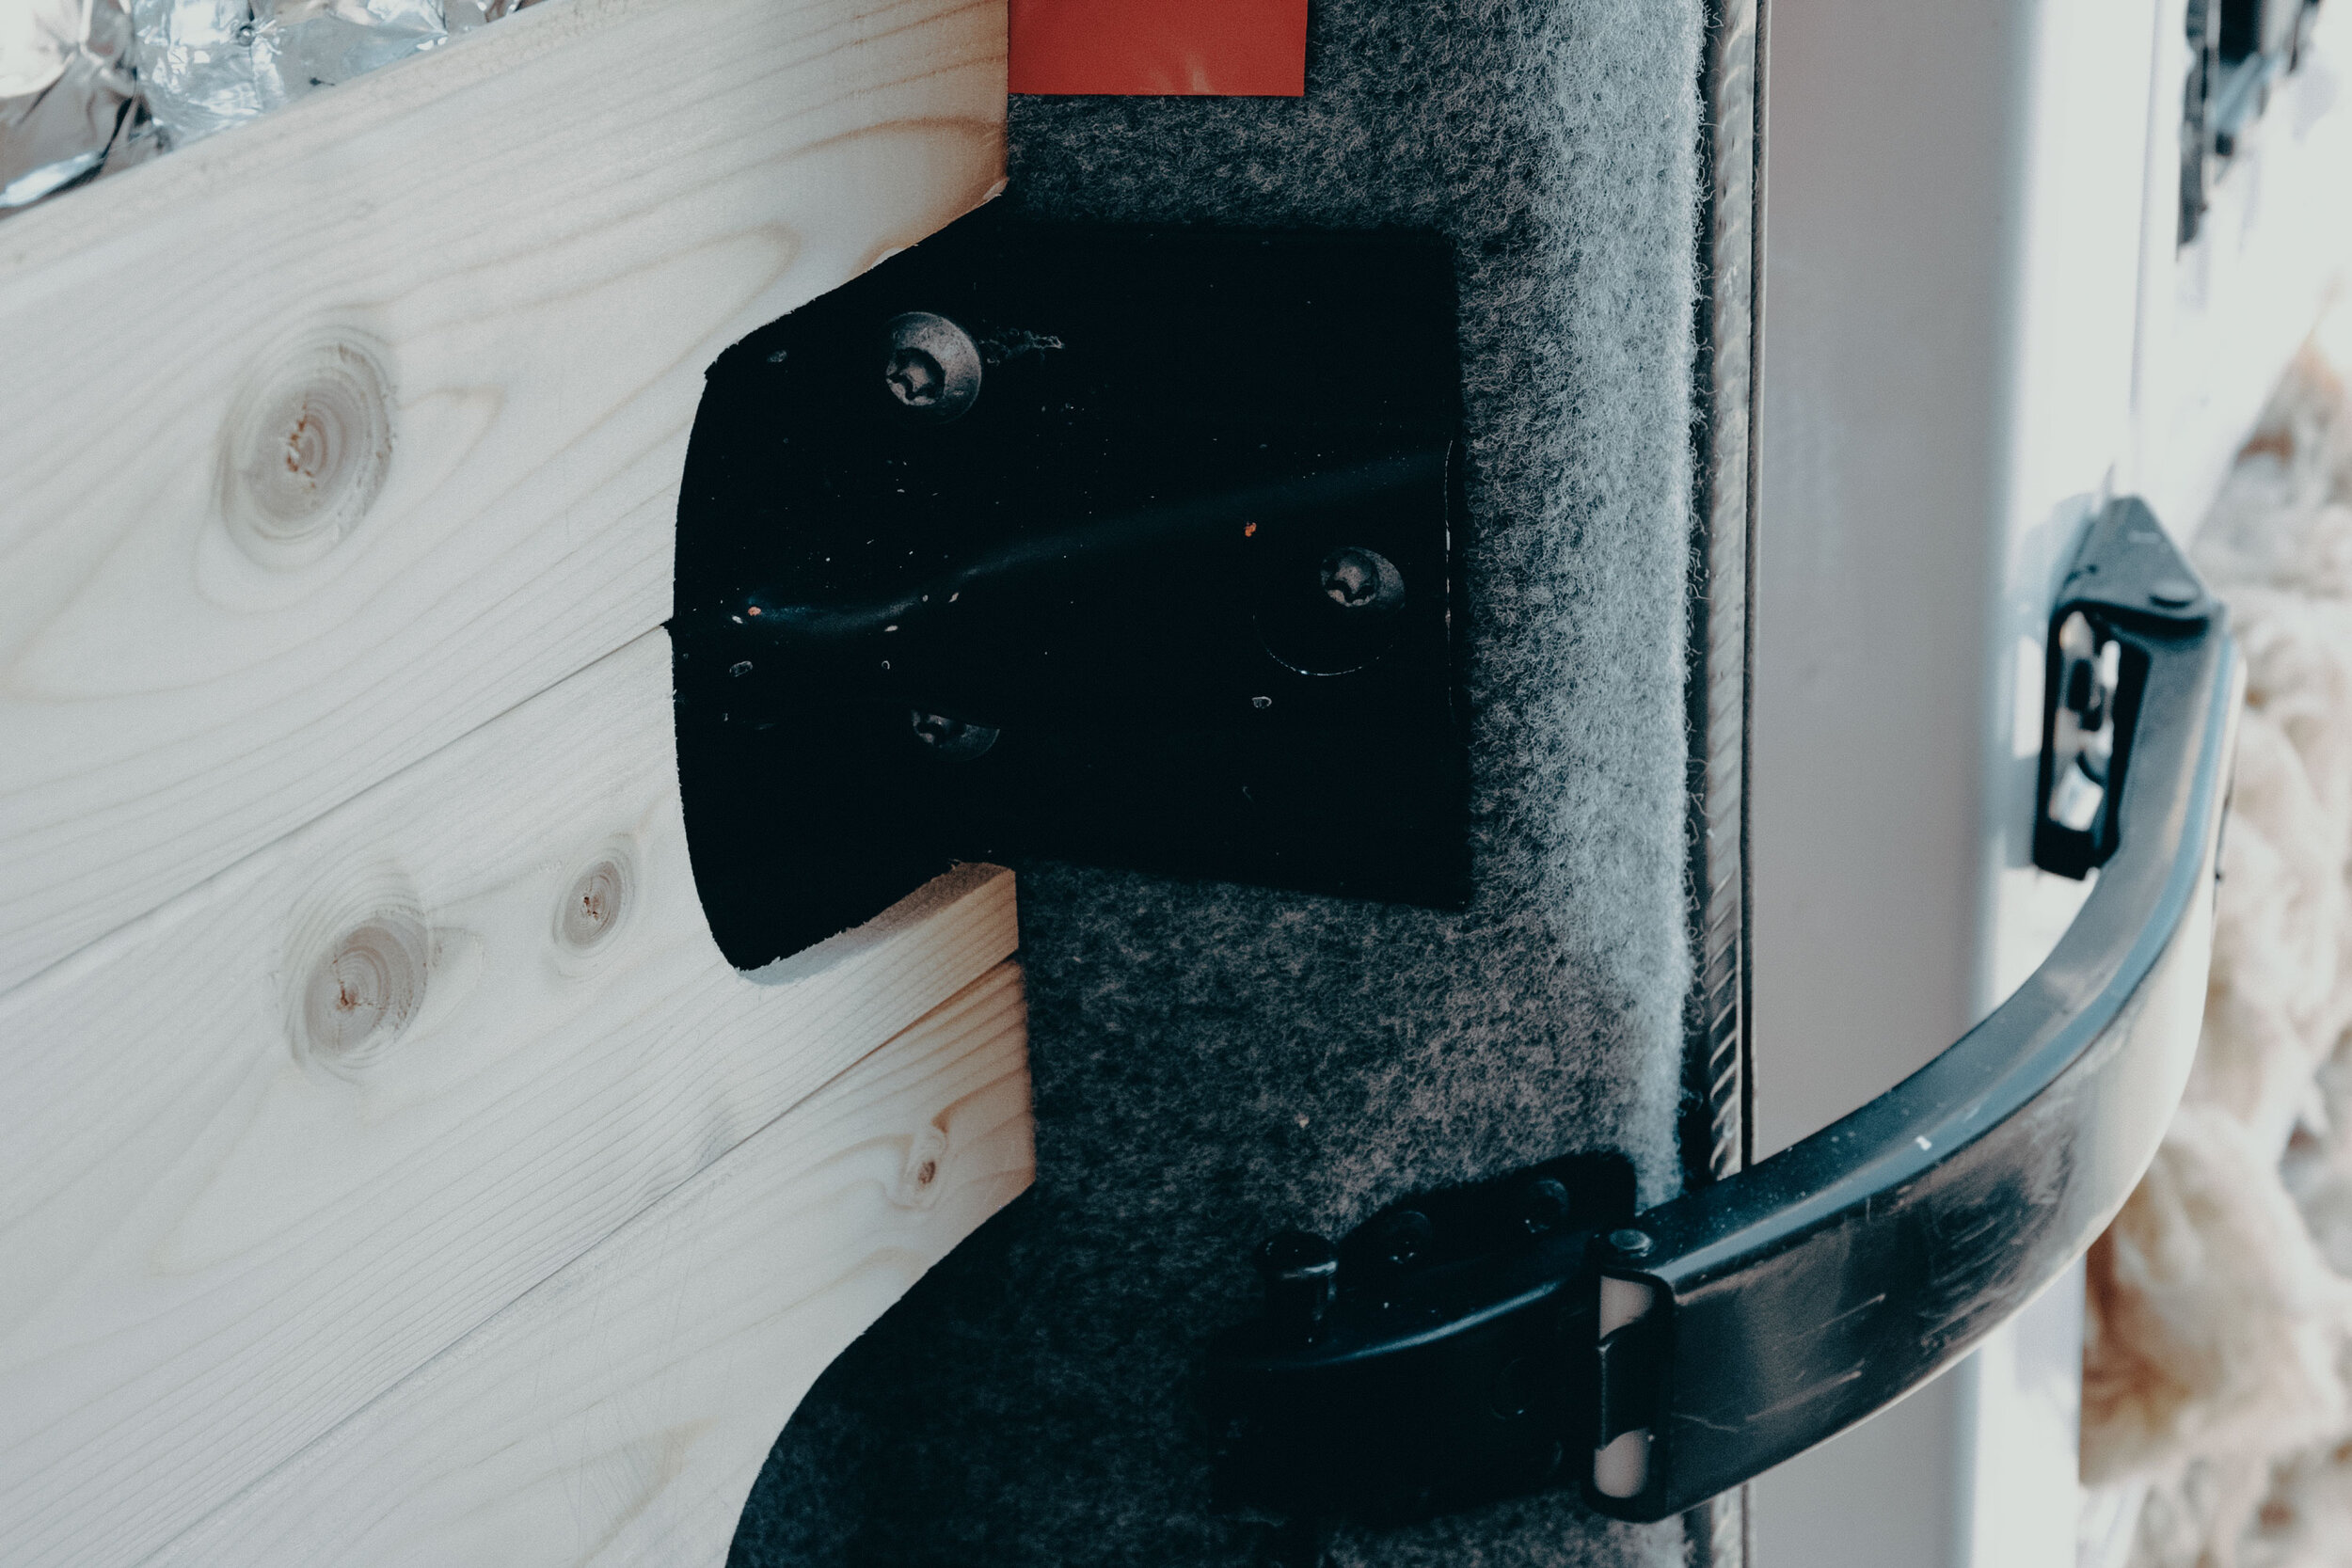
The frame will be secured between battens on all four sides. You can see the pocket holes on the top batten
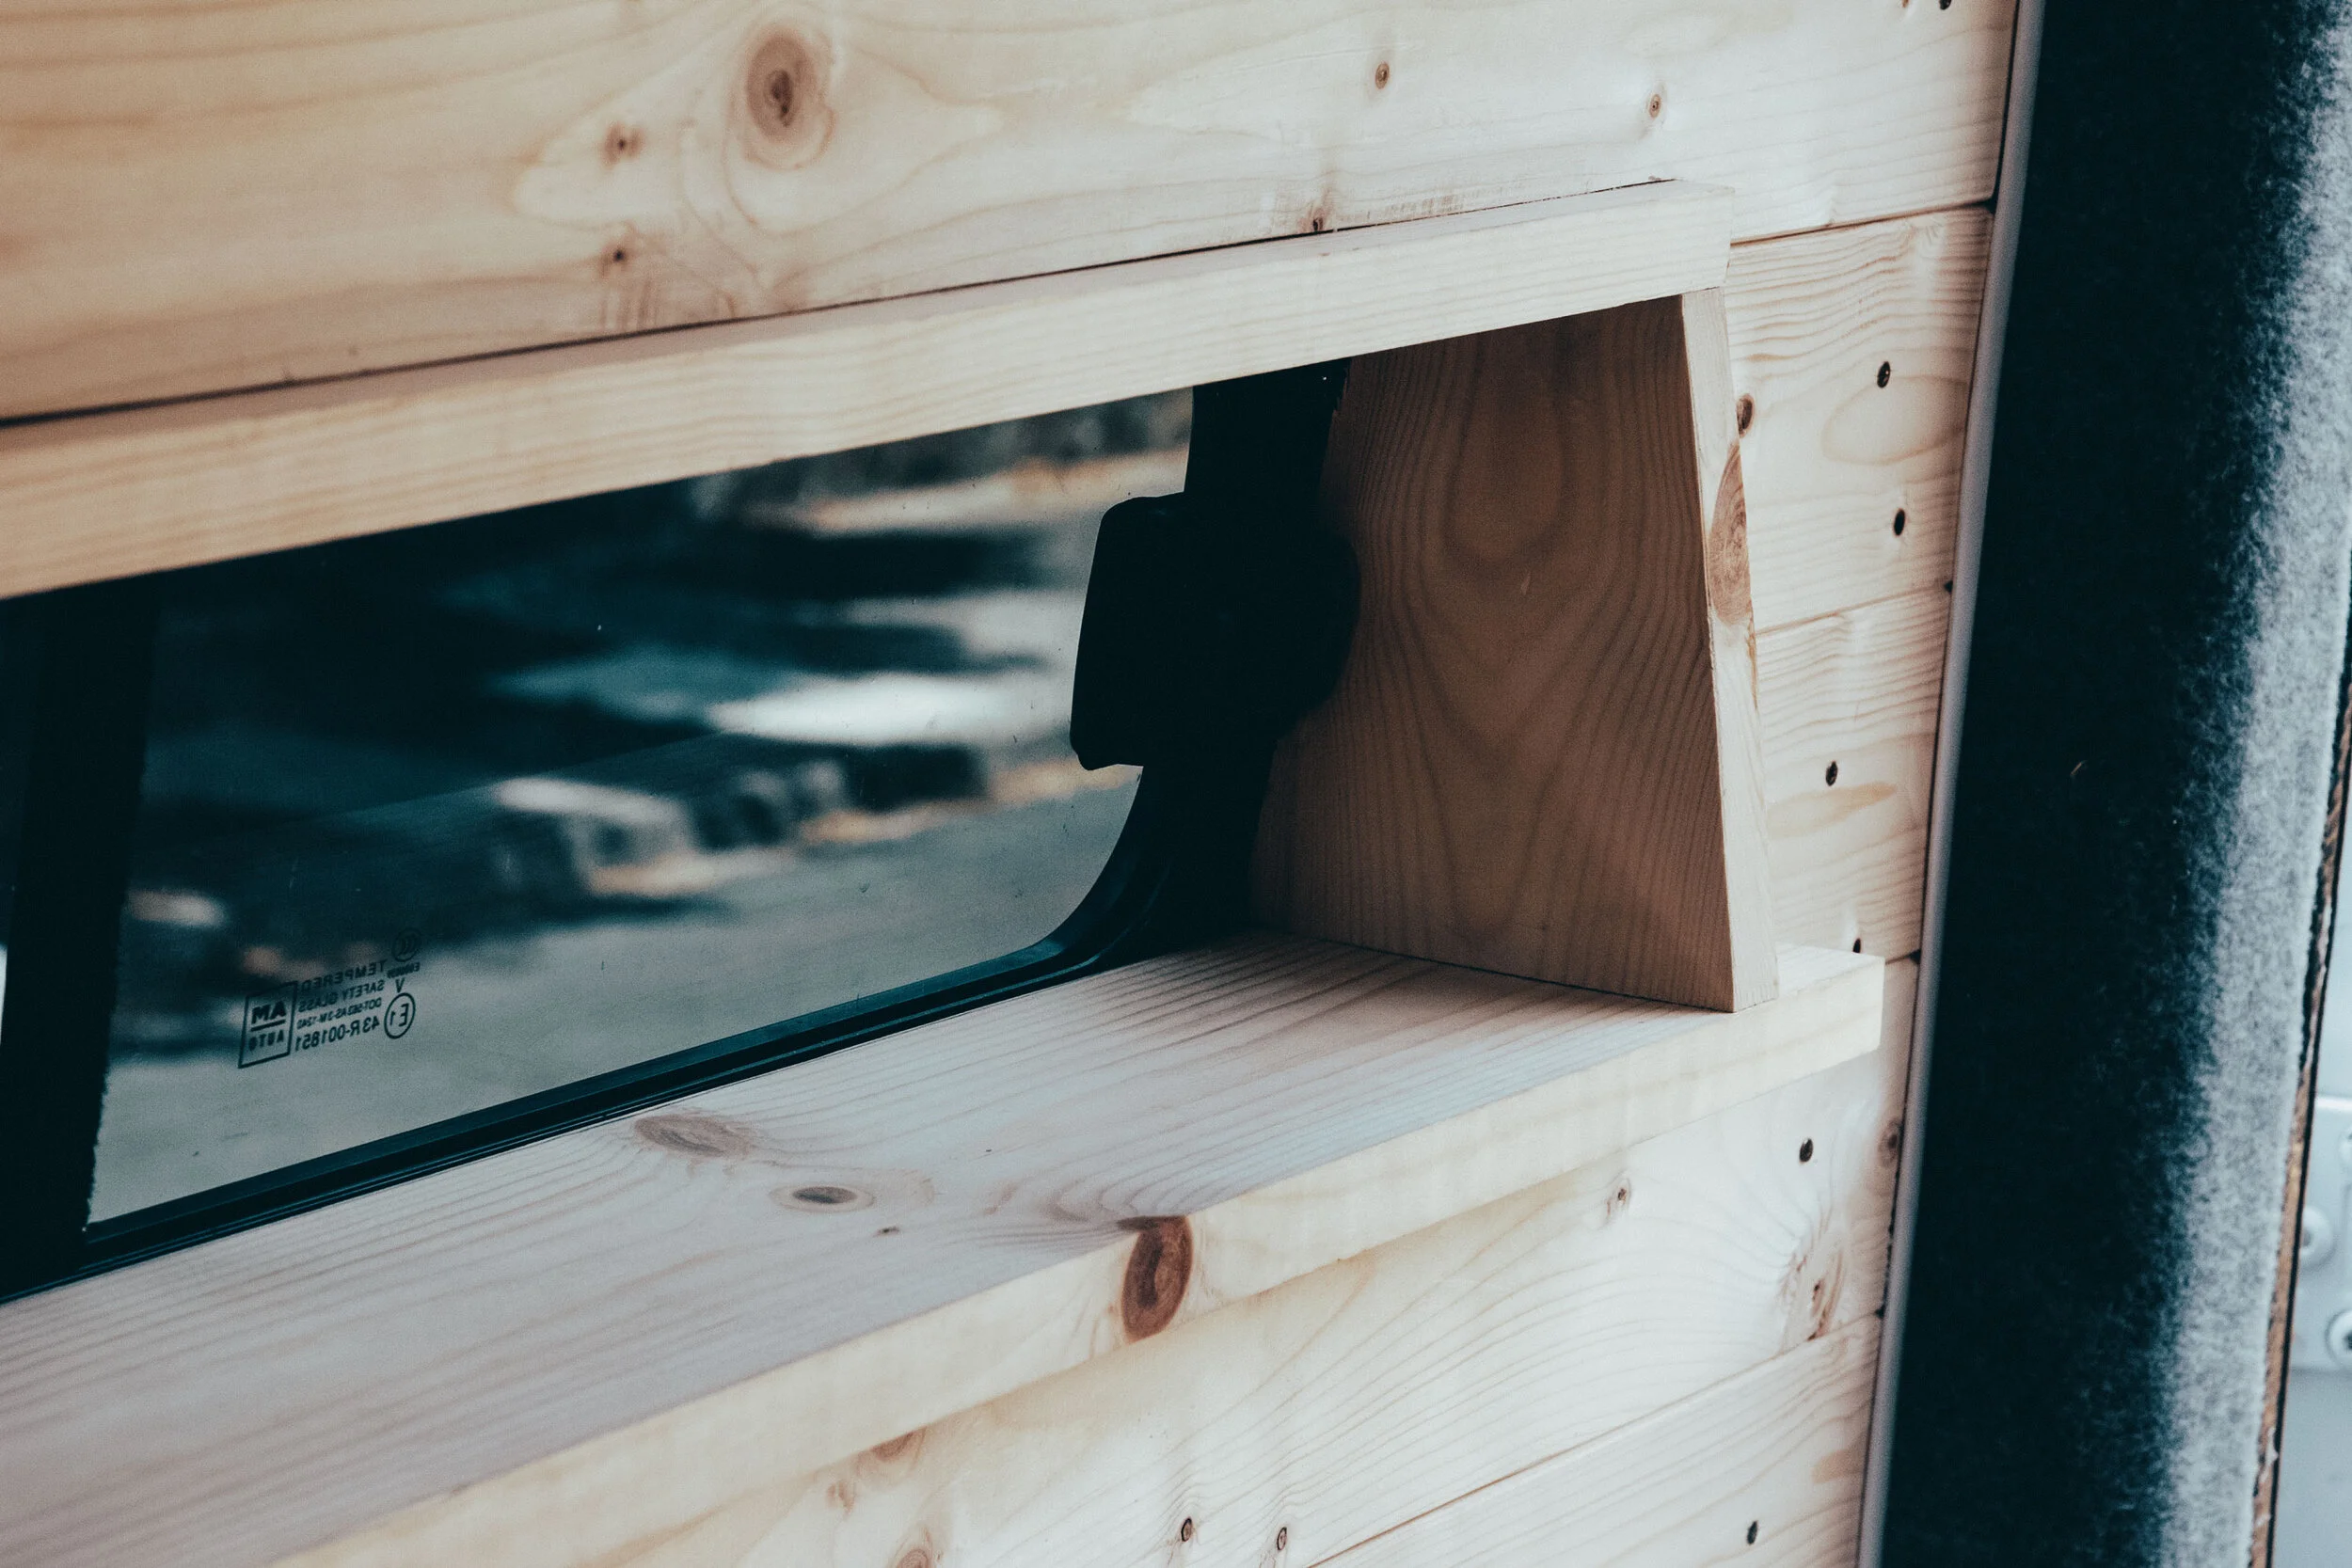
The finished window! We will add some trim at a later date to add the finishing touch

The window frame in situ with the cladding
Finishing the Wood Cladding
Now we knew what we were doing with the cladding, it was much quicker to get it on the wall. As I mentioned in our previous post, we didn’t have access to the original plywood walls. So when it came to fitting the cladding around the door hinges etc, we just used paper templates. It was so easy and once again we were really happy with the result.
The trickiest part was measuring around the window frame and cutting it to fit tightly around it. I think by this point, we were so eager to get the cladding up we didn’t even bother with templates. Using just our eyes and a pencil, we marked off where the cladding needed to be trimmed, before cutting it with a jigsaw. We always cut longer then we needed, just in case we were off. By this point, we were running short of cladding panels and didn’t want to waste any. Somehow it fit perfectly around the window and we quickly worked our way through the rest of the packs we had, leaving us only 3 or 4 panels short. We called it a wrap for this week, as a delivery of a very nice roof rack had made it’s way to us! Our next steps now include finishing the roof and ceiling, as well as painting the cladding. More on that next week!

Creating paper templates for the areas near the door hinges

Transferring the template onto the cladding
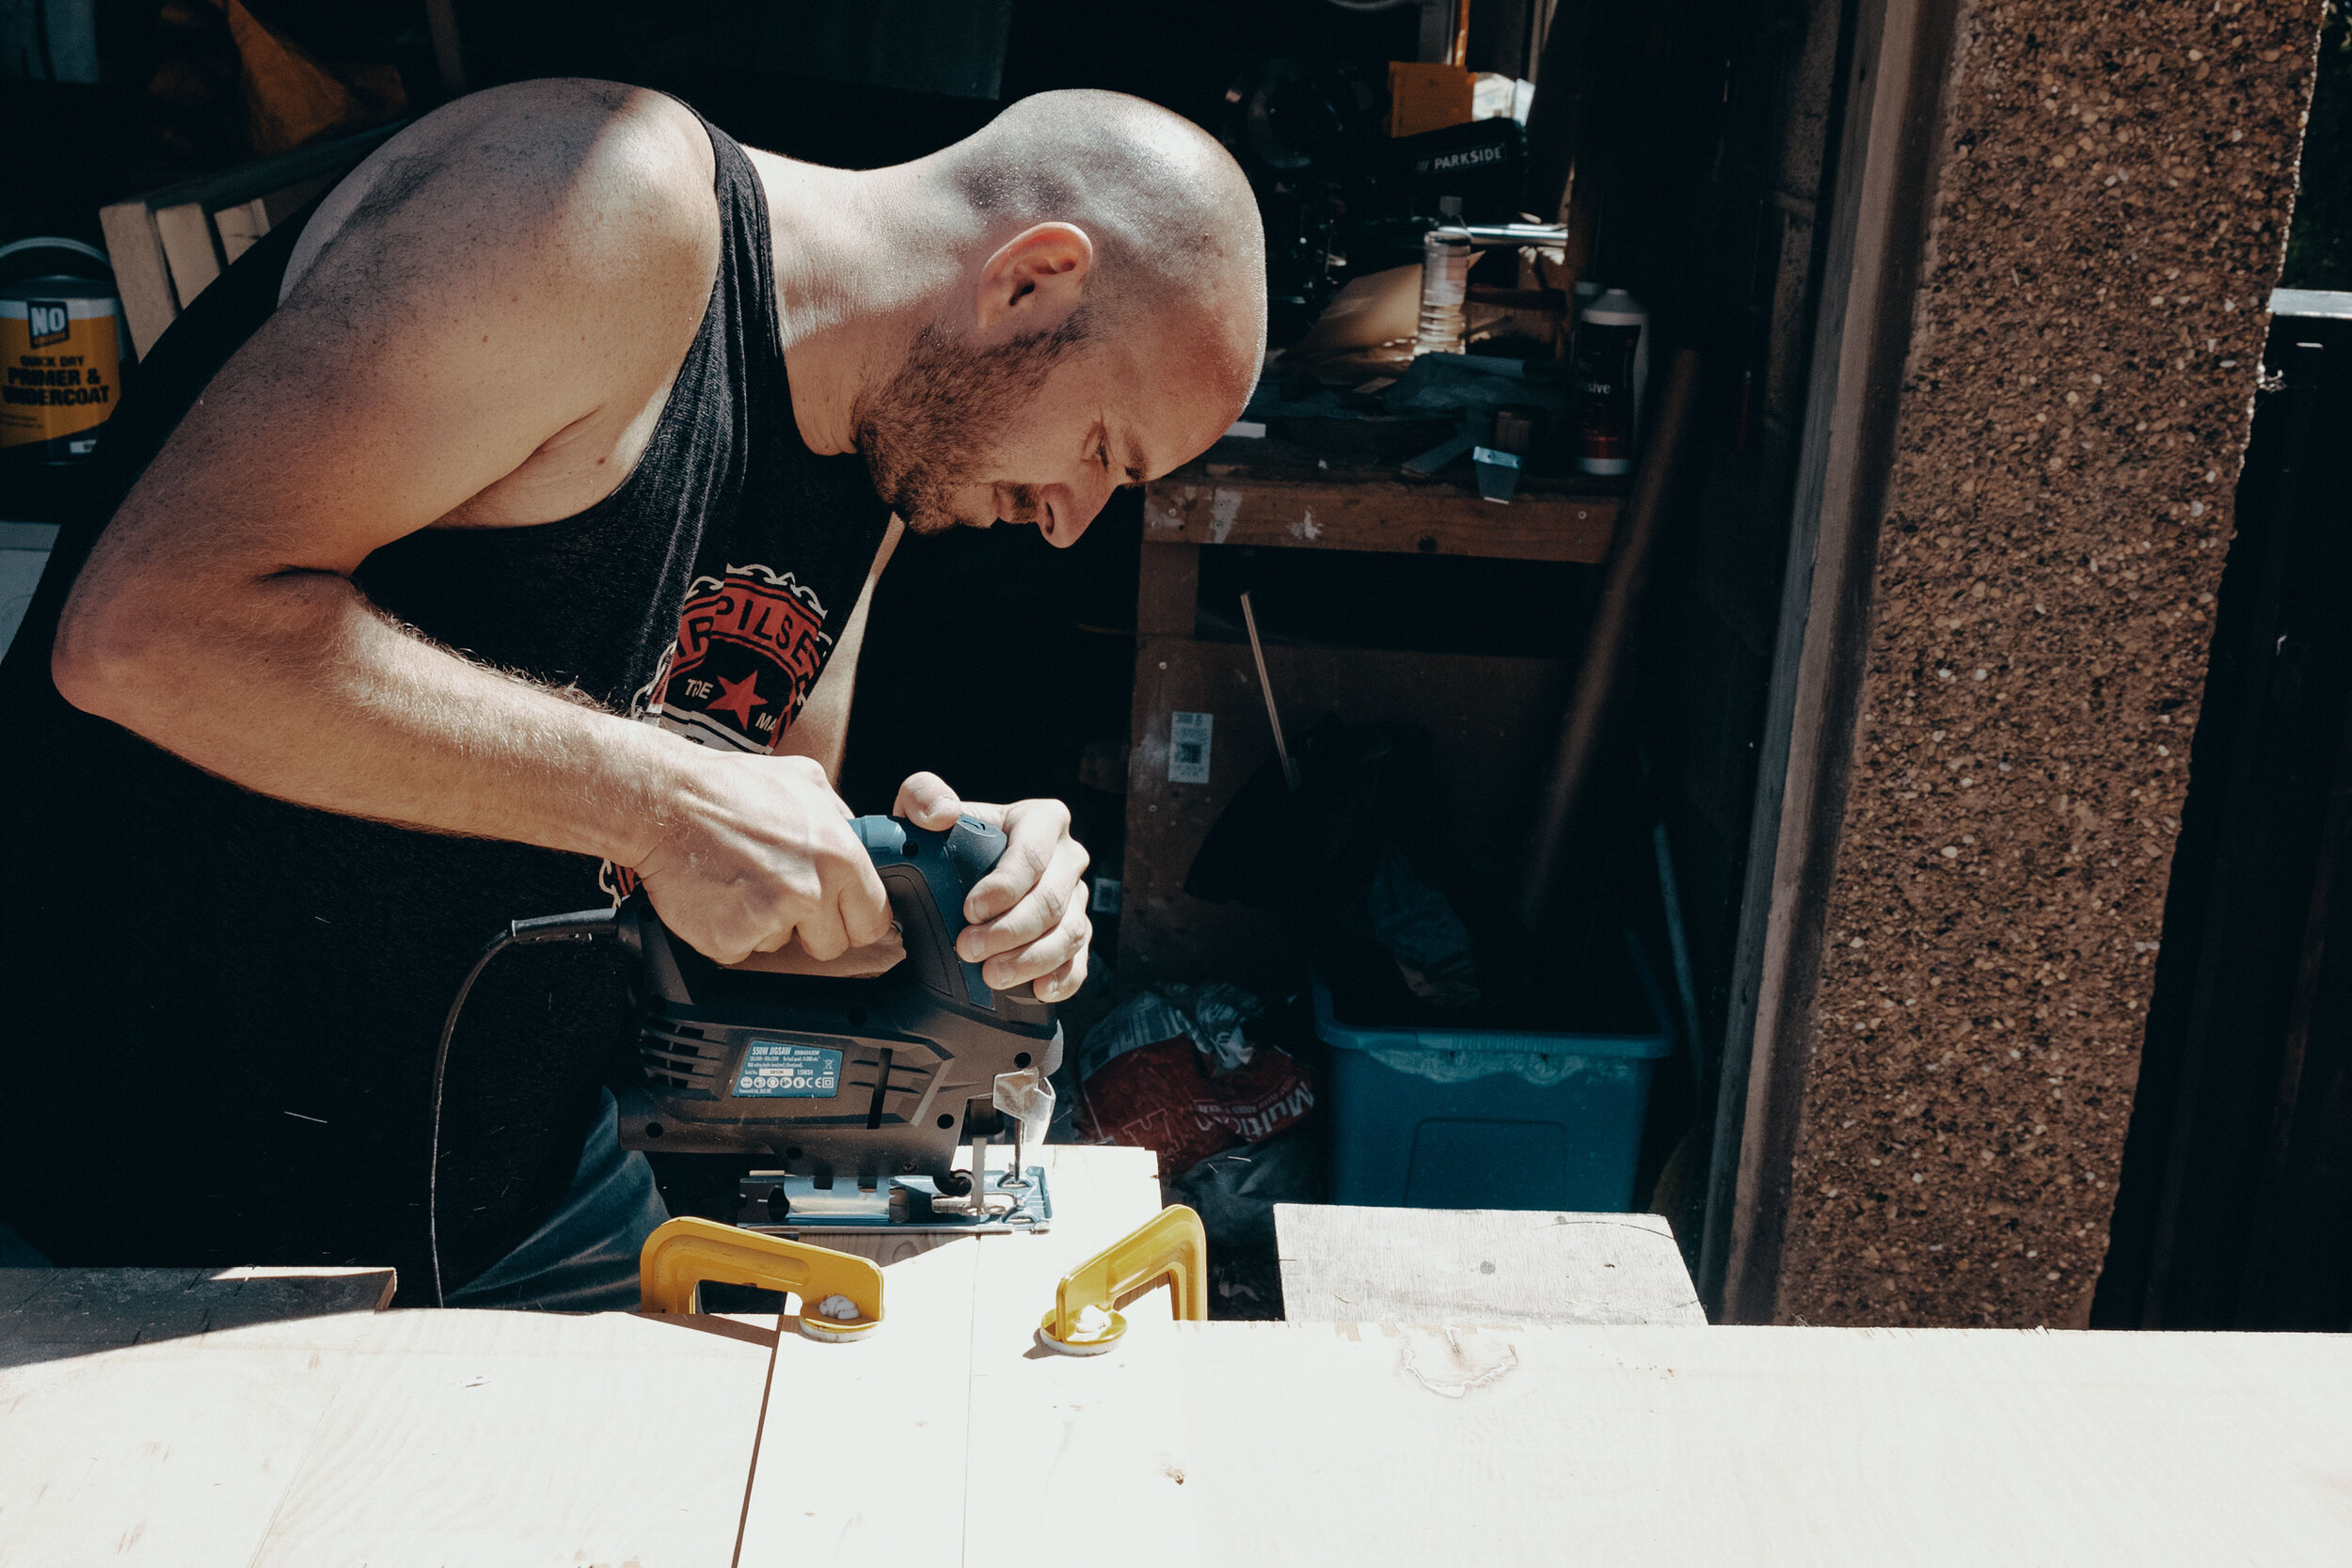
Cutting the cladding with a jigsaw
The finished result

Pretty much finished the cladding on the walls. So pleased with how it looks!
Our Small Vent Window - https://bit.ly/3bvyins (not an affiliate link)